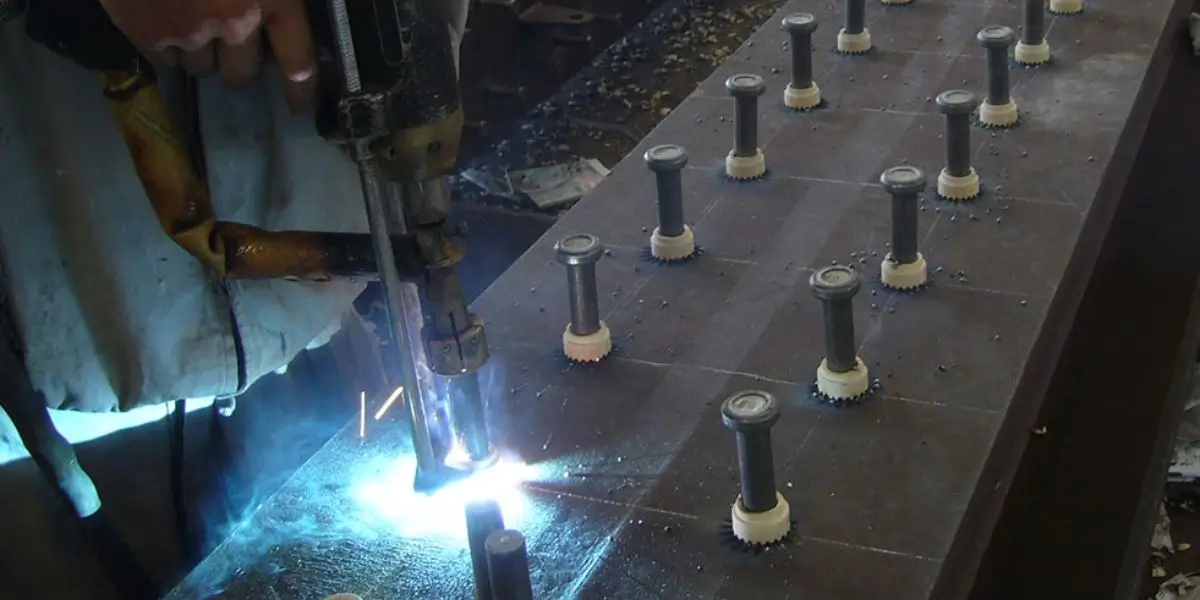
A stud welding gun holds a weld stud against metal, starts the weld cycle and controls the stud’s movement into the joint. The power source supplies the electrical energy; the gun provides the grip, alignment and motion needed by the selected process. Together they can attach a fastener from one side without drilling a through-hole.
The right gun depends on the stud and the workpiece. A bridge crew welding shear connectors to beams needs a different setup from a factory attaching small pins to sheet metal. If you are new to the process, the stud welding process guide explains the power source and weld cycle in more detail.
What Is a Stud Welding Gun?
A stud welding gun is the hand-held or automated tool that positions a stud at the weld location. Its chuck holds the stud; its foot or support keeps the tool aligned; a trigger or control signal starts the power source. On a drawn arc gun, the mechanism lifts and then plunges the stud. CD guns can use contact or gap modes, so their movement is not identical.
The gun does not certify a weld or control how the finished joint cools. Stud material, surface condition, current, timing, gun setup and inspection all matter. A replacement gun must also match the control system and the stud size; a plug that fits is not sufficient proof of compatibility.

| Gun function | What it actually does | What to check |
|---|---|---|
| Chuck and holder | Grips the specified stud | Size, wear and electrical contact |
| Foot and ferrule holder | Keeps the stud and ferrule positioned | Alignment and clearance |
| Lift and plunge mechanism | Moves the stud during an arc cycle | Free travel and procedure settings |
| Trigger and control lead | Starts the programmed cycle | Connection and response |
How Does a Stud Welding Gun Work?
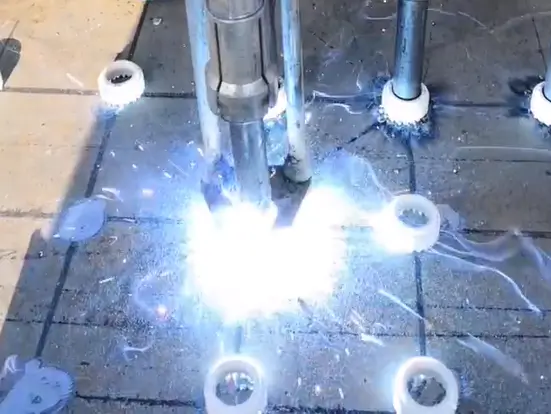
In a drawn arc cycle, the operator seats the gun squarely on the prepared workpiece. Triggering the cycle lifts the stud, an arc melts the stud end and base metal, and the gun plunges the stud into the molten pool. The power source controls current and time. The stud welding gun operation guide shows how those parts work together.
Capacitor discharge (CD) guns use stored electrical energy. A contact gun begins with the stud against the sheet; a gap gun holds it away before firing. Neither is a smaller version of a structural drawn arc gun. The stud tip, power unit and gun mode must match, and the reverse face of a thin sheet should be checked on a trial weld.
| Gun/process type | Common use | Selection check |
|---|---|---|
| Drawn arc | Larger studs and many structural joints | Stud, ferrule, power source and lift range |
| CD contact or gap | Small studs on sheet metal | Stud tip, sheet and gun mode |
| Short cycle | Some smaller studs on thinner sections | Shielding, material and required strength |
Why Use a Stud Welding Gun?
The practical advantages are one-sided access and fewer assembly steps when a welded fastener is appropriate. A repeat job may avoid drilling, tapping and installing separate hardware. The weld cycle can be brief, but output also depends on loading, positioning, surface preparation, inspection and rework.
Joint capacity is not a property of the gun alone. A weld that looks neat can still fail a required test. The stud welding quality guide explains why weld appearance, process control and mechanical results need separate checks.
| Potential benefit | When it helps | Limit to check |
|---|---|---|
| One-sided access | Closed sections and assembled panels | Gun clearance at the weld location |
| No through-hole | Parts where a permanent stud is acceptable | Sealing and structural design of the whole assembly |
| Repeatable cycle | Multiple similar studs and fixtures | Accepted welds per hour, not trigger time alone |
Which Studs Can the Gun Weld?
The fastener family includes headed shear studs for composite steel-and-concrete work, threaded studs for attachments and pins for insulation or lining systems. They do not all use the same chuck, gun or process. Choose from the stud drawing and the approved weld procedure.
A custom stud needs a weld-end design as well as a thread or head drawing. Confirm material compatibility and the holder dimensions before ordering the gun. The fact that a stud fits in a chuck does not show that its weld end is suitable for that process.
| Stud type | Typical application | Gun or process question |
|---|---|---|
| Headed shear stud | Composite beam connection | Can the gun carry the specified size and ferrule? |
| Threaded stud | Equipment or bracket attachment | Which material, weld end and chuck? |
| Insulation pin | Insulation or refractory retention | Is the selected process qualified for this pin? |
| Custom fastener | Project-specific attachment | Is the weld end designed and tested? |
How to Choose the Right Stud Welding Gun
Compare the named gun families against your stud and power source: Drawn Arc Guns for the proposed drawn arc setup, Capacitor Discharge Guns for the specified CD system and Short Cycle Guns where a short-cycle procedure applies. Check the manufacturer’s supported stud range, control connector, cable rating, chuck, foot assembly, lift or plunge adjustment and available spares.
For a site job, add access, cable length, input power and expected duty cycle. For a factory line, ask about fixture mounting, automatic feeding and changeover. Test the complete configuration on representative material before approving a production rate or surface finish.

| Decision | Site contractor | Factory line |
|---|---|---|
| Main constraint | Access, site power and movement | Fixture, feeding and repeatability |
| Gun fit | Stud size, ferrule and reach | Cycle interface and changeover |
| Trial result | Approved welds in site position | Accepted joints at target output |
What Changes for Contractors and Manufacturers?
A contractor may need to weld across deck profiles or in awkward positions and keep records by work area. A factory may need the same joint repeated on a fixed fixture throughout a shift. Both need an approved setup and maintenance plan, but their handling and inspection time differ.
Calculate cost from accepted joints, labor, consumables, testing and downtime. A promised percentage saving based only on weld-cycle time will miss the work that happens between triggers.
| Planning item | Field installation | Factory production |
|---|---|---|
| Part variation | Beam, deck and access conditions | Fixture and batch consistency |
| Throughput | Welds accepted per shift | Accepted joints per line hour |
| Quality record | Location, operator and tests | Batch, settings and tests |
What Should Buyers Confirm with ZOC Machinery?
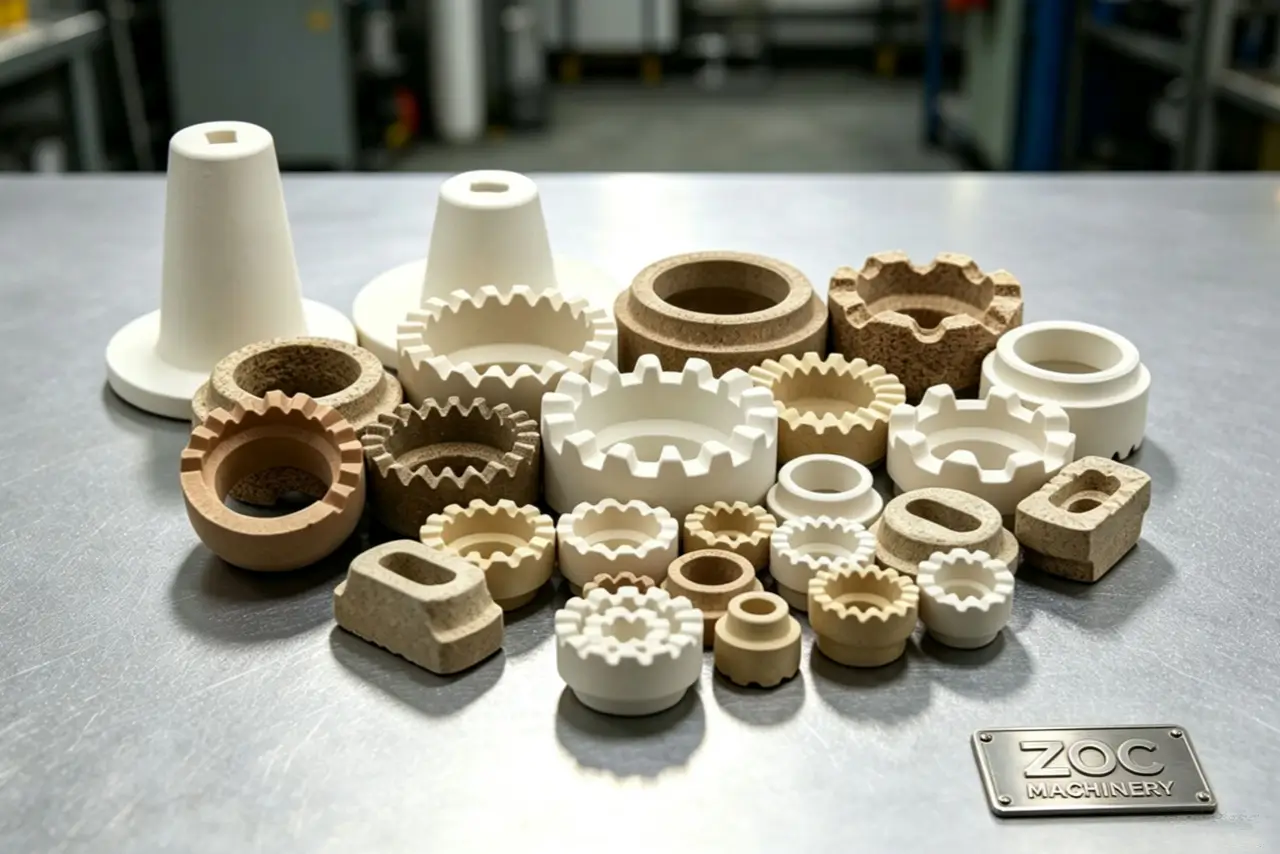
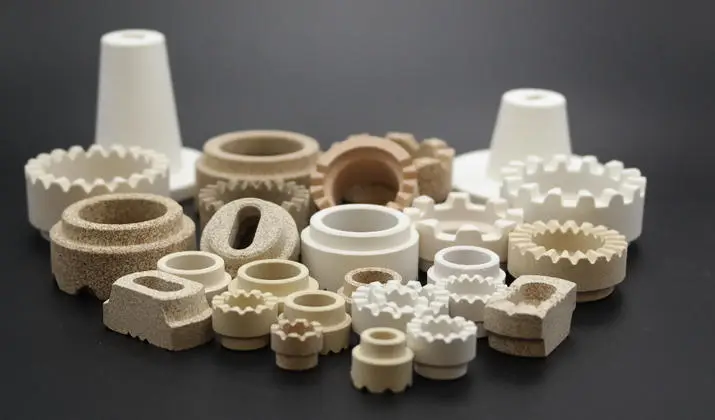
Ask for a complete quotation, not just a gun model. Match the gun to stud welding machines, studs, cables and any required ferrule holder. flux ball fixing machines belong to shear-stud manufacturing and do not replace the job-site gun. If the procedure calls for ceramic ferrules, confirm their size and quantity separately.
Send the stud drawing, base-metal grade and thickness, target process, site power and expected output. Request the actual machine and gun specifications, compatible consumables, delivery scope and spare-parts list. Confirm lead time and service terms in the quotation rather than relying on a general promise.
Safety Measures for Stud Welding Guns
The arc, hot metal, electrical circuit and welding fumes require a site hazard assessment. Choose eye and face protection for the actual process and current, protect nearby workers from direct arc light, and control fumes according to the material and coating. Follow the equipment manual and local rules for protective clothing, ventilation and wet conditions.
Inspect cables and clamps before use, keep the work connection secure and isolate the power source before servicing the gun. A short weld cycle does not remove burn, shock or fume hazards.
| Hazard | Practical control |
|---|---|
| Arc radiation | Suitable eye/face protection and screens |
| Hot metal and spatter | Protective clothing and cleared work area |
| Electrical shock | Sound insulation, dry setup and isolation for service |
| Fumes | Material assessment and suitable ventilation |
Maintenance and Troubleshooting
Before a shift, inspect the chuck, trigger, foot, cables and moving parts. Clean spatter as the gun manual permits; replace worn parts with the specified replacements. Our Maintenance article covers routine checks that help catch wear before it interrupts production.
If an arc will not start or a weld fails a test, do not change current first. Check the electrical return path, stud and ferrule, surface, gun travel and programmed cycle. The stud welding troubleshooting guide helps separate similar-looking faults.
| Symptom | Check first |
|---|---|
| No arc | Trigger, control lead, power and work connection |
| One-sided collar | Gun angle, ferrule fit and return path |
| Weak test result | Stud, surface, movement and approved settings |
| Gun overheating | Rated duty cycle, cable and cooling instructions |
Automation and Process Monitoring
A gun can be mounted in a fixture or fed automatically when the product repeats. Some systems record cycle values such as current and time. Those records help trace a change in setup, but they do not prove every finished weld has passed inspection.
When comparing automated systems, ask the supplier to demonstrate positioning tolerance, feed reliability, changeover and accepted weld rate on your part. Compare power consumption under the same production conditions if energy cost matters; an “efficient” label by itself is not a measurement.
| Capability | What to demonstrate |
|---|---|
| Automatic feeding | Correct stud presentation without jams |
| Fixture or robot mounting | Position and gun clearance on the actual part |
| Cycle recording | Which values are stored and how they are traced |
| Changeover | Time and parts needed for another stud size |
Buying Checklist
Give the supplier the stud drawing, base material, thickness, weld position, required output and acceptance criteria. Confirm the gun, power source, chucks, ferrule holders, cables and spare parts as one package. A short trial on the real material is more useful than a generic claim about speed or strength.
FAQ
What does a stud welding gun do?
It holds and positions the stud, starts the weld cycle and, for drawn arc, lifts and plunges the stud. The power source supplies the energy.
Do all stud welding guns work the same way?
No. Drawn arc, short cycle and CD guns use different cycles and may require different studs, holders and power sources.
Which industries use them?
Steel construction, shipbuilding, machinery, insulation work and sheet-metal manufacturing use different gun and stud combinations.
Can one gun weld every stud?
No. Check the specified stud size, weld-end design, process and compatible power source.
What should be tested before production?
Make trial welds on the actual material and apply the visual and mechanical checks required by the project or procedure.