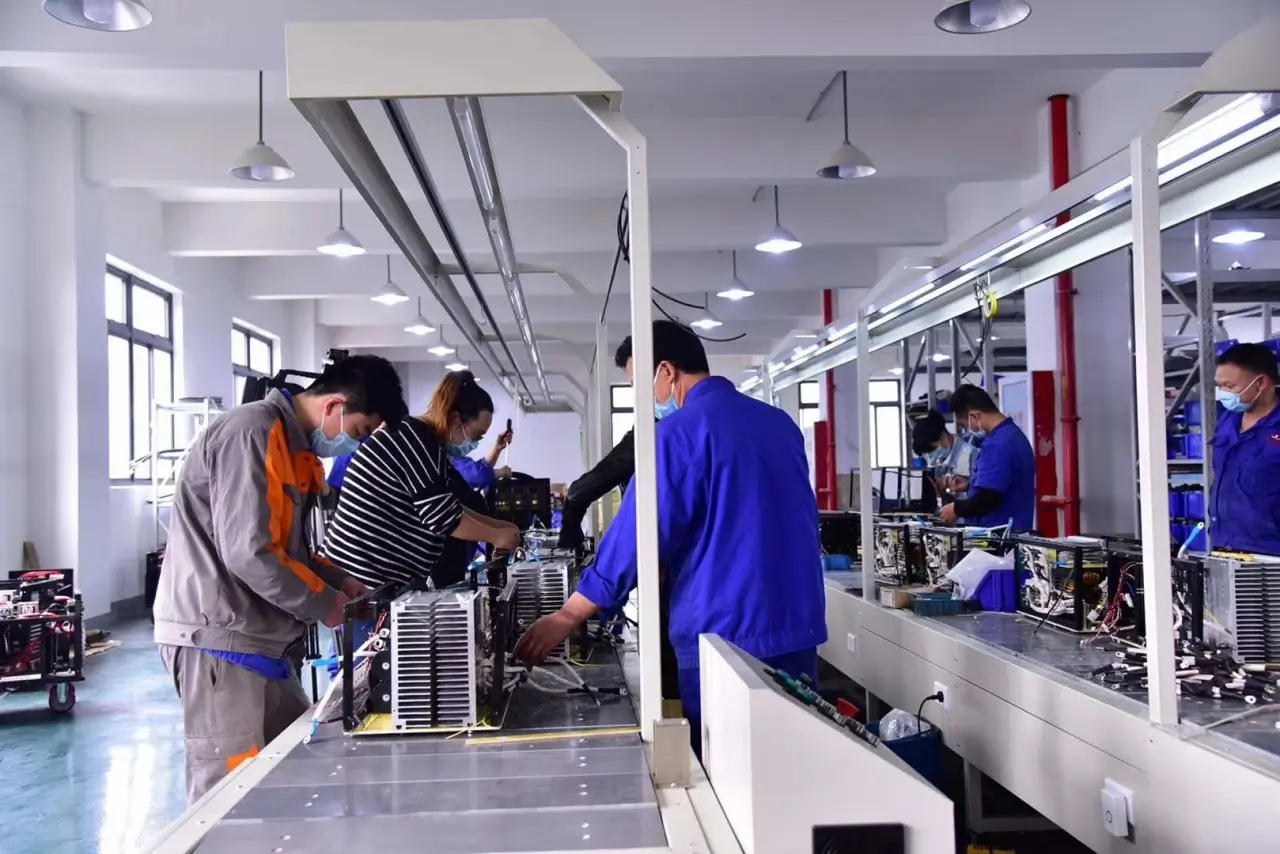
Stud welding attaches compatible metal fasteners quickly from one side of a workpiece, without drilling mounting holes in the base material. These stud welding advantages can shorten assembly work for metal fabricators, equipment manufacturers and engineering contractors.
Your team may be ready to fit brackets or supports, yet drilling, deburring and awkward nut access keep holding up the job. Each extra handling step adds labor and another chance to damage a finished surface. A welded stud can remove those operations where the joint design permits, provided you match the process to material, thickness and load requirements.
What Are the Main Advantages of Stud Welding?
Stud welding can remove hole preparation, reduce rear-access constraints and support repeatable fastener placement. The benefits you receive depend on the part, welding method and production setup.
| Benefit | Question for your production trial |
|---|---|
| Faster installation | Does fastening limit the complete part cycle? |
| Reliable welded connections | Can the joint meet its specified load and acceptance criteria? |
| No drilled mounting holes | Can your design use a surface-mounted anchor? |
| Reduced reverse-side marking | Does the actual sheet retain an acceptable finish? |
| Portable equipment options | Can the complete setup operate where you need it? |
| One-sided access | Is there enough space for the gun and return connection? |
| Automation options | Can feeding, positioning and inspection run consistently? |
| Lower assembly costs | Does the cost per accepted assembly fall? |
For a sheet-metal enclosure, finish and access may drive the choice; for a heavy steel assembly, joint performance and power requirements may matter more.
8 Key Benefits of Stud Welding
1. Faster Installation and Higher Productivity
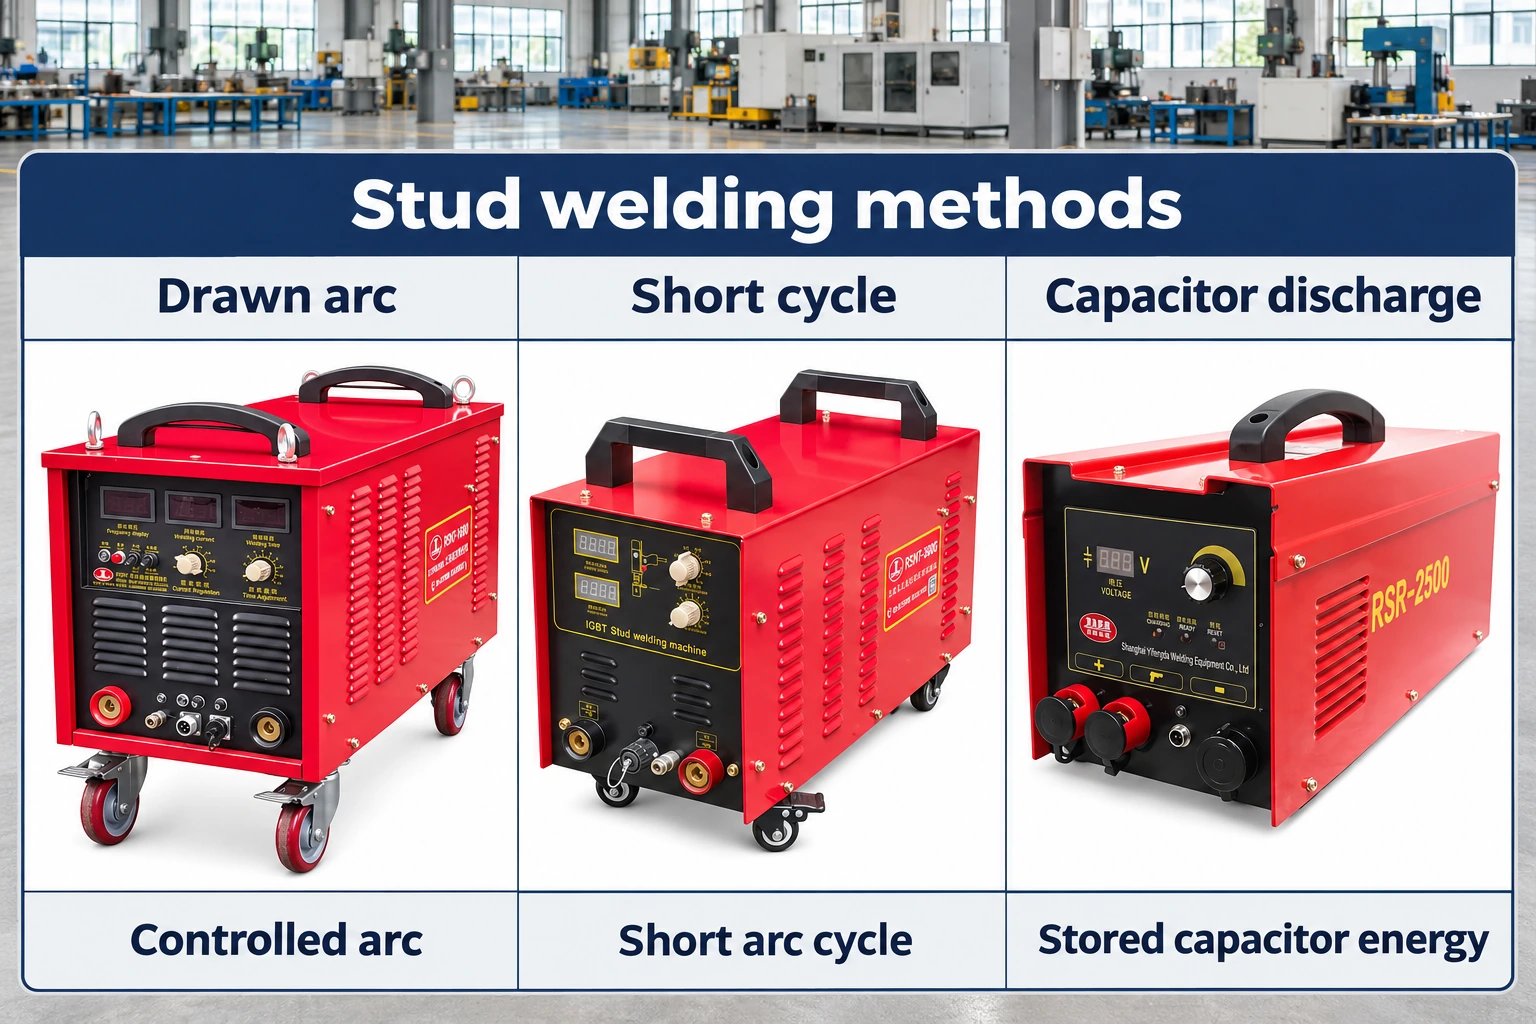
You can fit mounting points before installing brackets, cable supports or enclosure hardware. For suitable repetitive assemblies, short cycle stud welding is one process to review alongside CD and conventional drawn arc welding. Your actual production rate still depends on loading, positioning and inspection.
A short weld pulse helps little when operators spend longer searching for studs or repositioning heavy panels. Follow one part through the station. Record loading, stud feeding, gun movement, controller recovery and rework before setting an output target.
2. Strong and Reliable Welded Connections
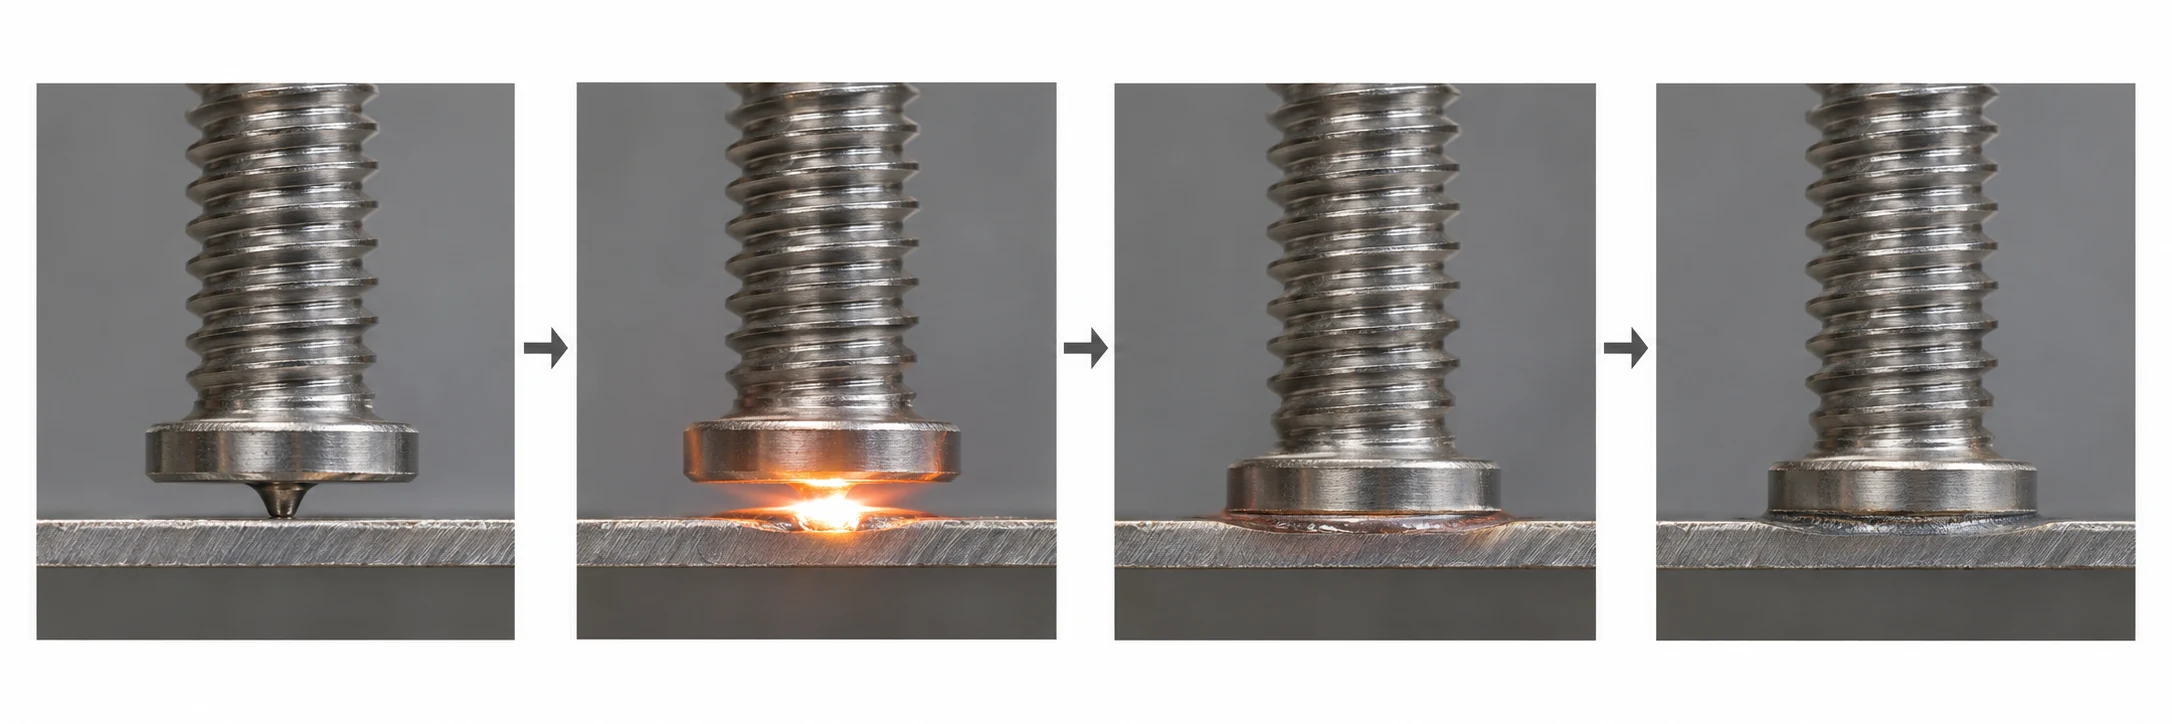
Stud welding fuses a compatible fastener directly to weldable base metal. A properly made joint can carry its specified load without a separate nut securing the stud itself. Its capacity depends on materials, weld quality, base thickness and joint design.
For heavier sections, the drawn arc welding process provides controlled arc time and current, with weld protection selected for the application. A neat collar alone doesn’t establish strength. Confirm tensile, shear and fatigue requirements where relevant, then apply the specified visual and mechanical acceptance checks.
3. No Drilling or Through-Holes Required
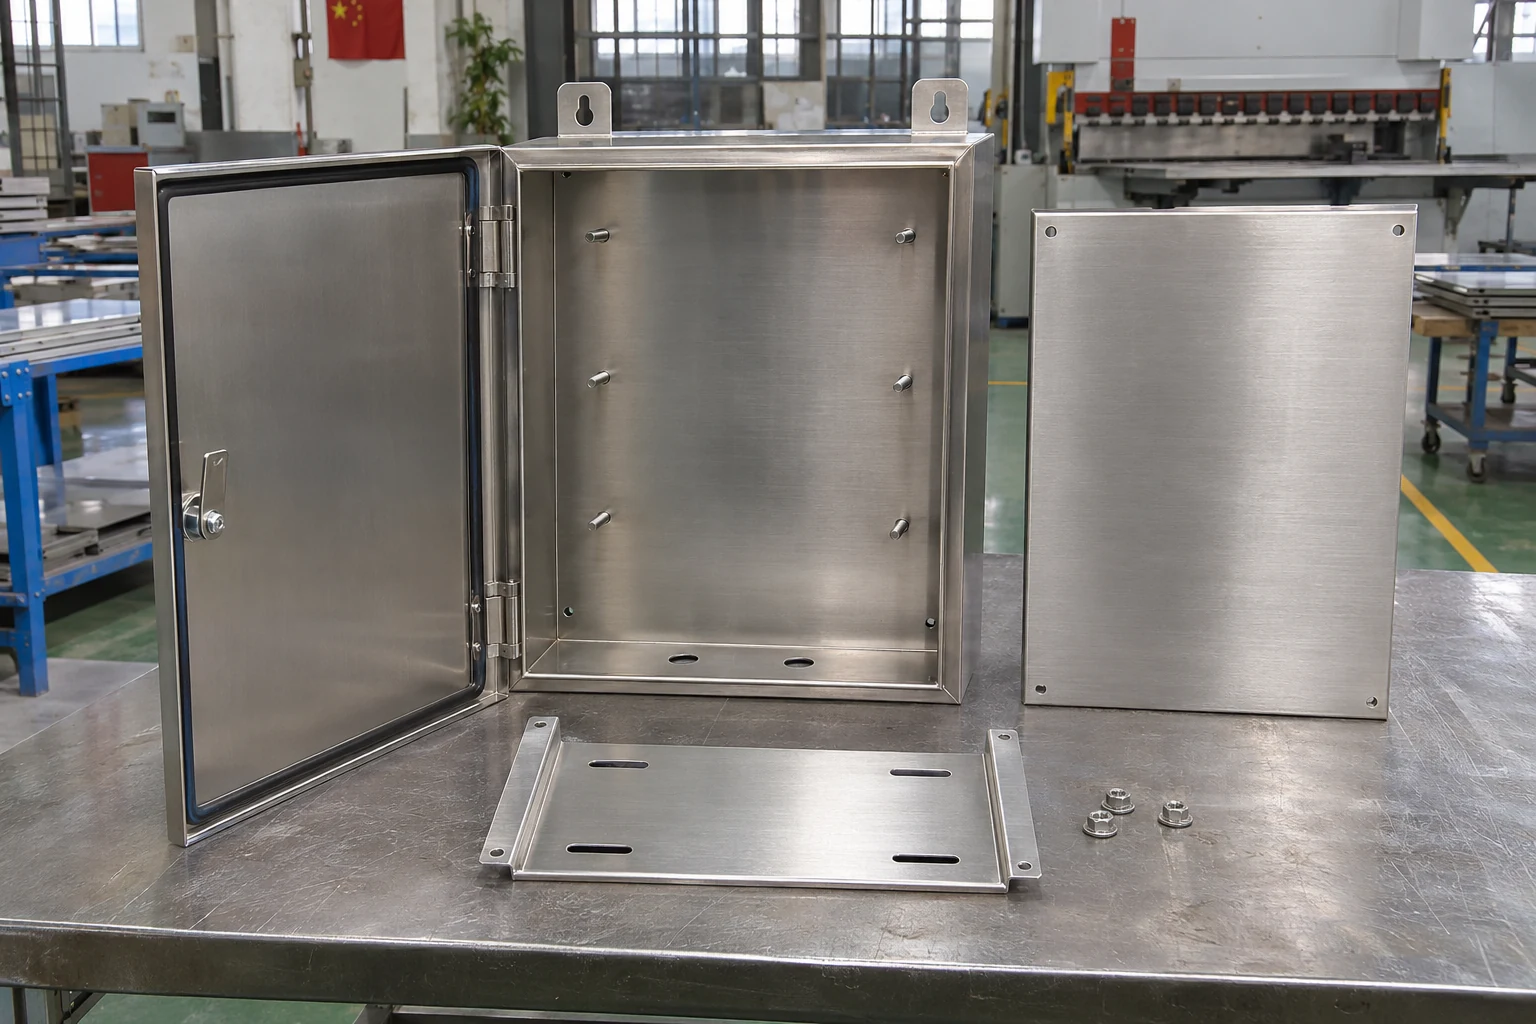
Surface-mounted weld studs can remove drilling and deburring at the anchor location, although attached brackets may still need clearance holes. Avoiding that penetration also removes a potential leakage path created by the mounting hole.
Check the drawing before changing the joint. Keep clearance for the stud base and attached component, and retain any specified sealing or pressure tests. An unpierced sheet alone doesn’t certify a tank, enclosure or pressure boundary as leak-tight.
4. Reduced Reverse-Side Marking
The brief energy pulse used in capacitor discharge welding limits heat input and often suits small studs on appearance-sensitive panels. Settings, stud size and sheet condition still affect the result. Zero marking remains a result to verify on samples, especially with thin sheet or demanding finishes.
Test the actual sheet grade, thickness and surface finish. Inspect both faces under the agreed lighting after welding and any finishing operation, then approve appearance alongside weld performance. A clean-looking panel can still contain an unacceptable weld.
5. Flexible and Portable Equipment Options
Compact controllers and wheeled setups can move between suitable workstations, but portability varies with power output and machine design. Compare inverter drawn arc stud welders using the complete working setup rather than controller size alone.
- Confirm input voltage, phase and supply capacity.
- Check approved lead sizes, lengths and connectors.
- Plan safe handling and protect cables from damage.
Long leads can affect welding performance, so follow the equipment supplier’s limits rather than extending them casually. Include the gun, leads, return clamp and any required shielding equipment in your handling plan.
6. One-Sided Welding Access
You position the gun and make the attachment from the accessible face. You don’t need a rear wrench holding a nut for that operation. The welding circuit still requires an effective return connection to the workpiece.
A reachable stud position may still be too tight for the gun body, support legs or ferrule holder. Check enclosure depth, flange positions and the gun’s complete working stroke with the actual parts. Allow for cable movement inside corners and recessed areas.
7. Integration with Automated Production
Match automated stud welding guns to the fastener geometry, positioning system and power source. You can automate selected tasks or build a complete cell, depending on volume, part variation and available space.
A robot won’t correct inconsistent blanks or studs that jam in the feeder. Start with repeatable location, compatible fasteners and an agreed response when the system detects a missing stud or an out-of-range weld cycle. Plan inspection, fault recovery and guarded access before setting the production target.
8. Lower Overall Assembly Costs
A recurring cabinet order may justify dedicated tooling, while a small mixed batch can spend more time on changeovers. Include the operations each fastening method requires when comparing costs.
- Measure labor for loading, fastening and inspection.
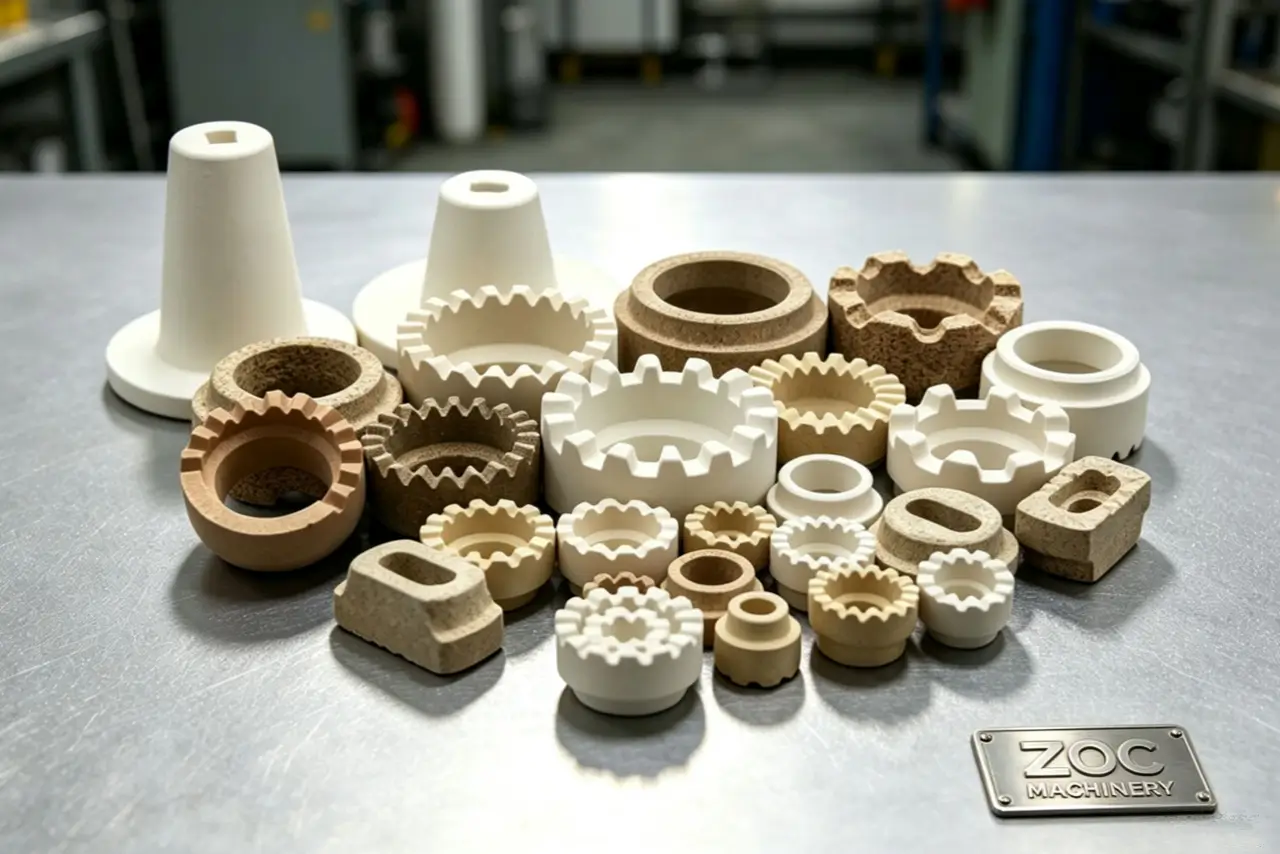
- Include chucks, ferrules or shielding gas where applicable.
- Add equipment allocation, maintenance, training, scrap and rework.
Compare the cost per accepted assembly using production-trial data before approving equipment on a claimed percentage saving.
Stud Welding vs. Bolting and Riveting
Stud welding creates a permanent welded anchor, while bolts and rivets make mechanical connections. The table compares conventional through bolts and cold-installed rivets; blind fasteners and other designs can change access requirements. Compare the complete joint, including service access and replacement.
| Comparison | Stud welding | Through bolting | Riveting |
|---|---|---|---|
| Hole in the base sheet | Usually unnecessary at the stud location | Required | Usually required |
| Installation access | Gun access from one face; return connection required | Usually both sides | One side for blind rivets; both sides for solid rivets |
| Connection | Permanent welded anchor | Removable mechanical clamp | Permanent mechanical joint |
| Welding heat | Localized heat input | None | None for cold installation |
| Equipment | Stud welder, gun and return lead | Hole preparation and tightening tools | Hole preparation and setting tools |
| Automation | Supported with suitable tooling | Supported with suitable tooling | Supported with suitable tooling |
| Fastener replacement | Stud removal requires rework | Usually straightforward with access | Rivet must be removed before replacement |
Key Takeaway: Compare complete joint designs: a welded stud provides an attachment point, while a bolt or rivet often joins a stack of parts directly.
When Is Stud Welding Not the Best Choice?
Choose another method when the materials cannot form an acceptable weld, heat effects exceed your limits or the anchor must be easily replaceable. A faster attachment cycle won’t compensate for an unsuitable joint.
Check Material, Heat Limits and Future Repairs
Coatings, contamination and incompatible materials can rule out a proposed weld setup or require preparation before welding. Confirm what must be removed from the weld area and how corrosion protection will be restored. For appearance-sensitive parts, agree on acceptable marking using representative samples.
You can remove a bracket from a threaded welded stud, but replacing the stud itself requires rework. If maintenance depends on replacing the complete fastener, check repair access and surface restoration before choosing a permanent welded anchor.
How to Choose the Right Stud Welding Setup
Match the process, power source, gun and fastener to your actual part, then verify them through representative weld trials. A stud welding process selection review should cover material, base thickness, stud geometry, load requirements, finish and production conditions.
Which Process Is a Sensible Starting Point?
For conventional drawn arc applications, refer to our stud welding process guide to understand how welding current, arc time, gun lift and other parameters affect weld quality.
| Application | Starting point | What to verify |
|---|---|---|
| Small studs on thin, visible panels | CD welding | Material compatibility, marking and joint acceptance |
| Larger studs on heavier steel sections | Conventional drawn arc | Joint design, power supply and weld protection |
| Repeated compatible industrial assemblies | Short cycle or automated setup | Feeding, positioning, cycle time and inspection |
These are screening choices, not guaranteed operating limits. Verify the final configuration against your drawings, equipment specifications and acceptance criteria.
What Should You Send for a Technical Review?
A stud diameter alone doesn’t define a working setup. Share the part specification so the proposed equipment can be checked against your application.
- Provide a drawing, stud dimensions and material grades.
- State sheet thickness, finish requirements and gun clearance.
- Confirm available power, target output and acceptance criteria.
Frequently Asked Questions About Stud Welding Advantages
Why Is Stud Welding Faster Than Traditional Fastening Methods?
Stud welding can reduce assembly time by attaching fasteners directly to the base metal without separate drilling, deburring or rear-side nut installation. However, overall productivity depends on part handling, stud feeding, welding cycle time and inspection requirements.
How do I know if a welded stud is strong enough?
Verify it against the specified acceptance criteria. Visual inspection checks visible condition; the required mechanical tests and joint design establish whether it meets your application needs.
Can I remove a welded stud during maintenance?
Yes, but removal requires rework. You can normally unbolt an attached component from a threaded stud, while removing the welded anchor may involve cutting or grinding and repairing the surface.
Conclusion
Stud welding can speed installation, provide reliable welded connections, remove drilled mounting holes and reduce reverse-side marking. Portable equipment, one-sided access and automation can also help lower overall assembly costs when the process suits your material, thickness, finish and load requirements.
At ZOC Machinery, we help you review process options, match guns and fasteners, and specify compatible accessories for your part and operating conditions. Send your drawing, material grades, base thickness and production target when you contact us today for equipment selection and technical support. Ask for a proposed configuration covering the power source, gun, studs and required accessories.