Installing weld studs correctly requires a compatible welding process, proper surface preparation, accurate gun setup, and verified welding parameters. This step-by-step guide explains how to install weld studs using capacitor discharge (CD) and drawn arc welding, including equipment preparation, installation procedures, weld inspection, and troubleshooting.
If you’re unsure which welding method suits your application, refer to our stud welding process selection guide before getting started.
Which Stud Welding Process Fits Your Job?
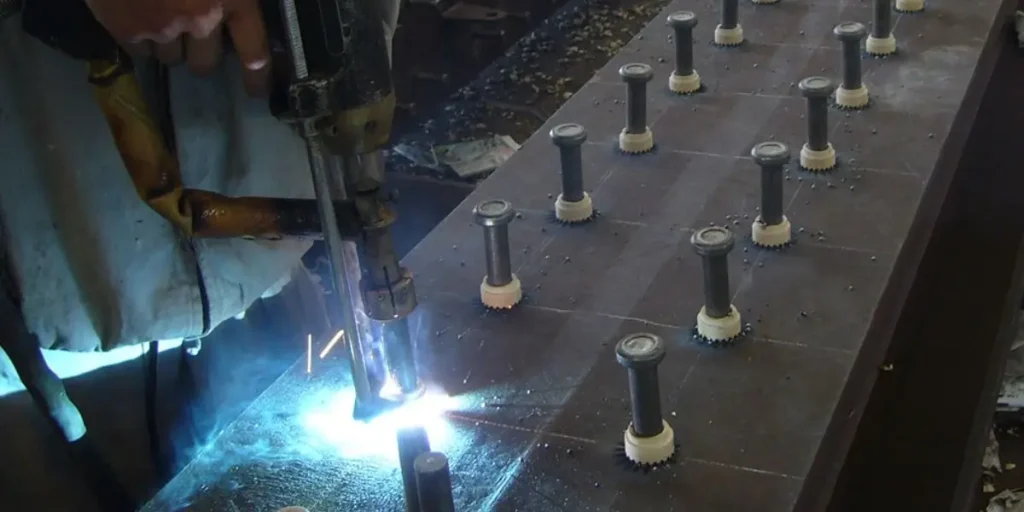
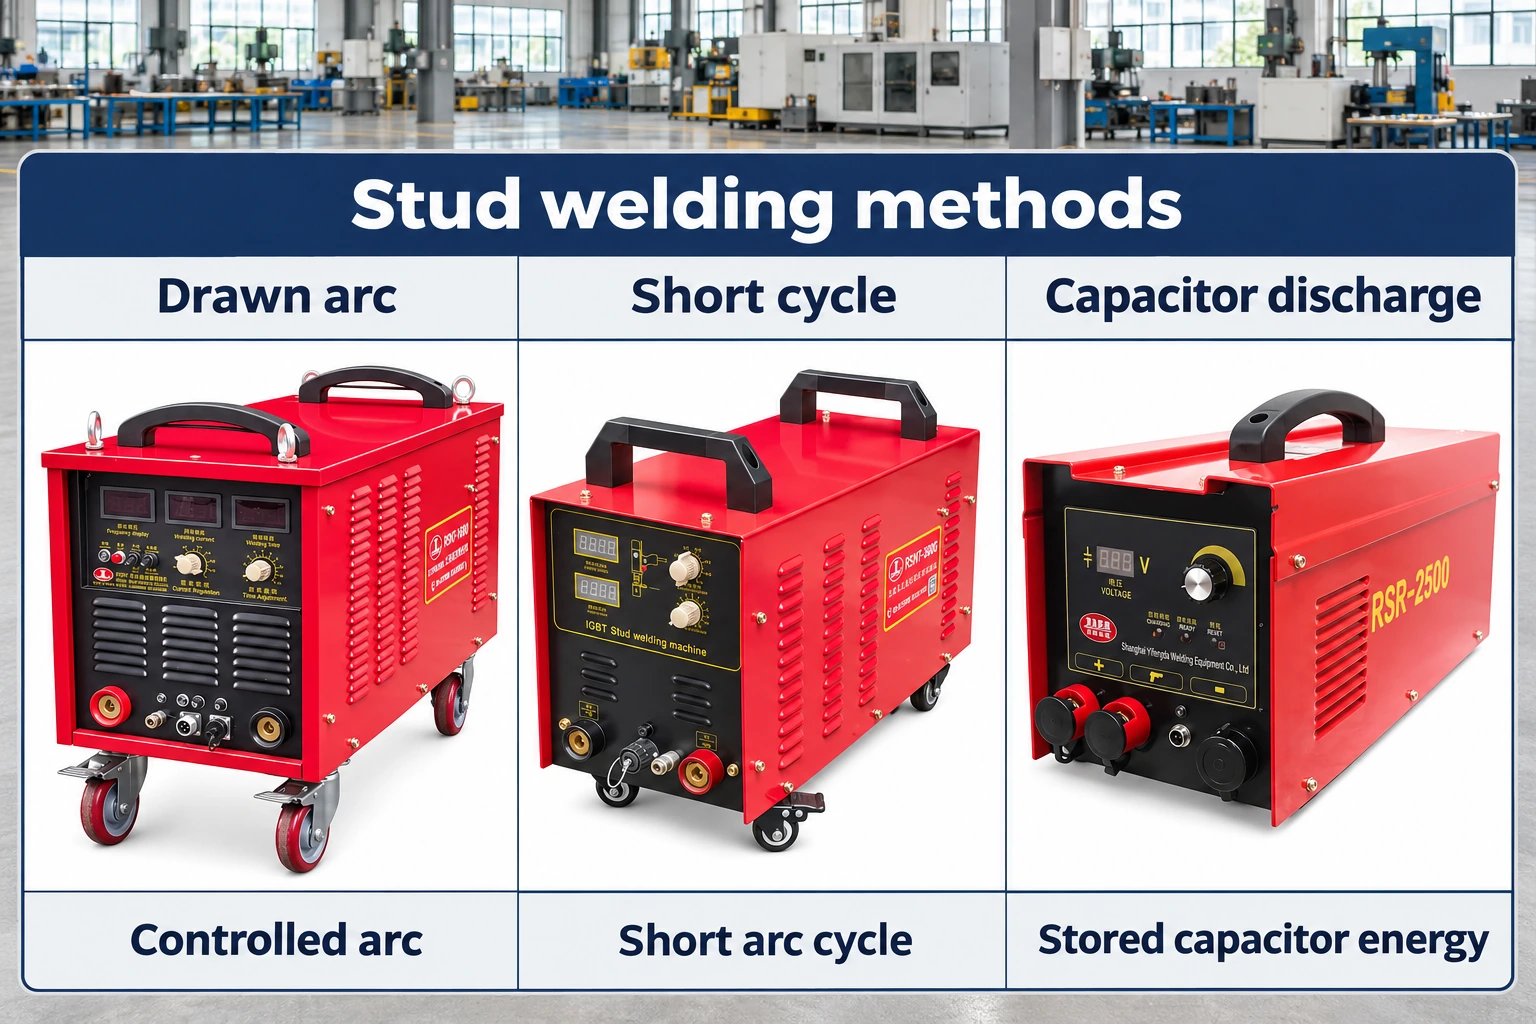
Choose a process that matches your stud design, base metal, sheet thickness, and required joint performance. CD often suits small fasteners on sheet metal; structural shear connectors normally need an approved drawn arc procedure. Our CD and drawn arc weld studs cover different welding-end designs, so check the fastener specification before selecting a gun or power unit.
Which fastener belongs with your process?
Before you choose: check the stud’s welding end against your machine’s supported process. A threaded bolt from general hardware stock cannot substitute for a purpose-made weld stud.
- CD studs use a small ignition tip and a process-specific welding base.
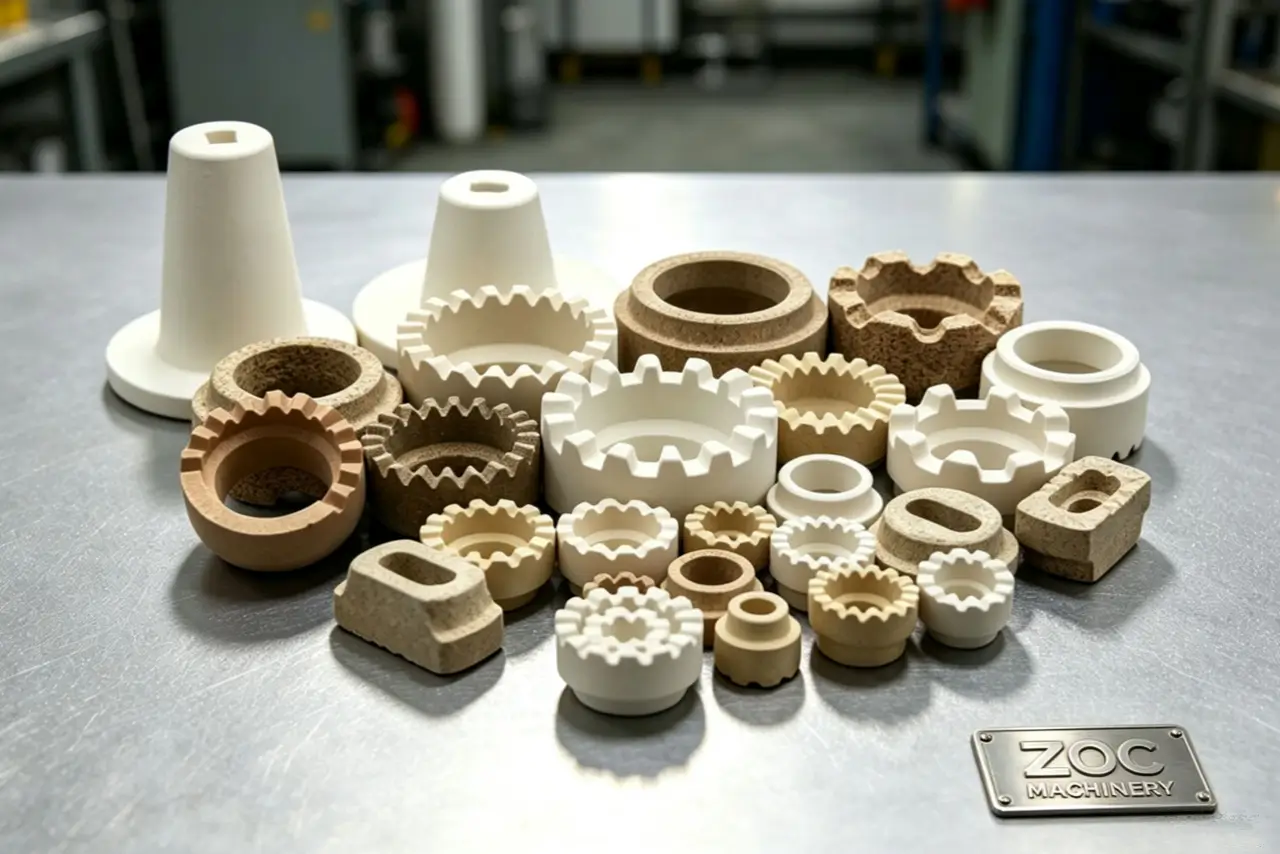
- Drawn arc work may require a matching ceramic ferrule or shielding gas.
- Confirm the stud grade, base-metal compatibility, and required finished length.
| Your application | Process to evaluate |
|---|---|
| Small mounting studs on sheet metal | Capacitor discharge |
| Structural shear connectors on steel | Drawn arc under an approved procedure |
Select the process before ordering consumables. Key Takeaway: A compatible stud, gun, and controller give you a workable starting point for trial welding.
What Equipment and Surface Preparation Do You Need?
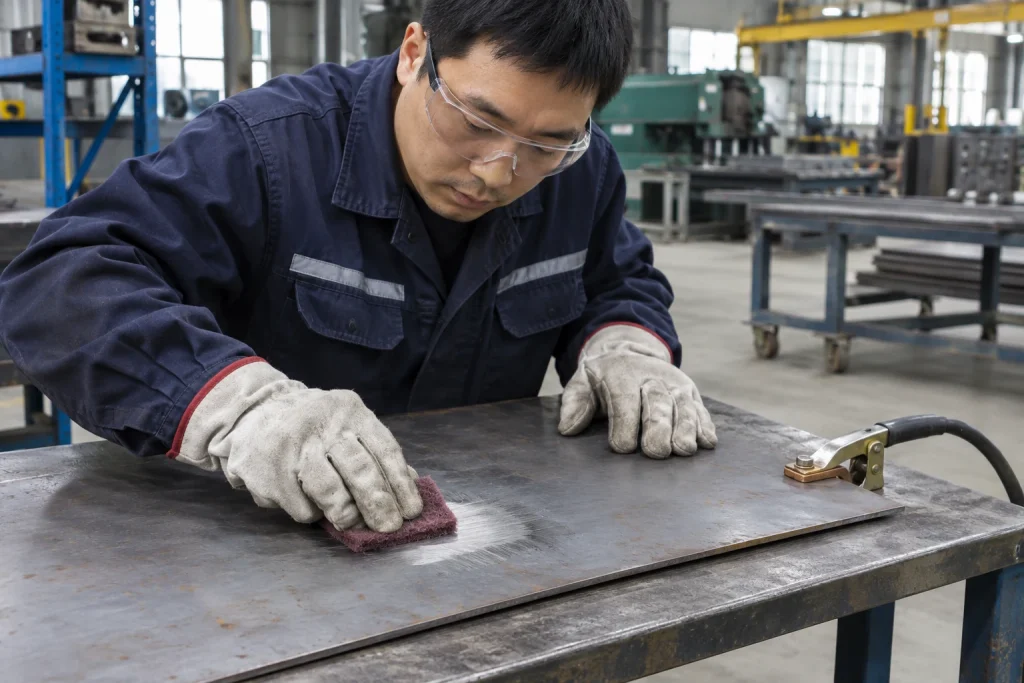
You need a compatible power unit, welding gun, chuck, leads, return clamp, and the specified input supply, plus a clean, supported workpiece. Match your stud welding guns to the controller’s process, connectors, control signals, and stud range. Treat equipment checks and metal preparation as one setup task.
What should you check before connecting power?
Start with the nameplate: confirm your available supply against the machine’s rated voltage, phase, frequency, and circuit requirements. A portable housing doesn’t establish electrical compatibility.
- Inspect cable insulation, connectors, the chuck, and the return clamp.
- Follow the manufacturer’s isolation procedure before attaching or changing tooling.
- Connect the welding return to clean conductive metal; it serves a different function from protective earth.
- Keep the power unit closed; internal capacitor work needs qualified personnel.
How should you prepare the metal and work area?
Clean the weld location and return-clamp contact area using a method suitable for the material and coating. Before the gun touches metal: support thin sheet against flexing and check access for the gun’s support feet.
- Remove oil, moisture, loose scale, and obstructive coatings as the procedure requires.
- Use dedicated stainless-steel cleaning tools where cross-contamination would affect the work.
- Let approved cleaning products dry fully before welding.
- Wear suitable welding eye, face, hand, and body protection; provide ventilation and protect bystanders.
How Do You Set Up the Stud Welding Gun?
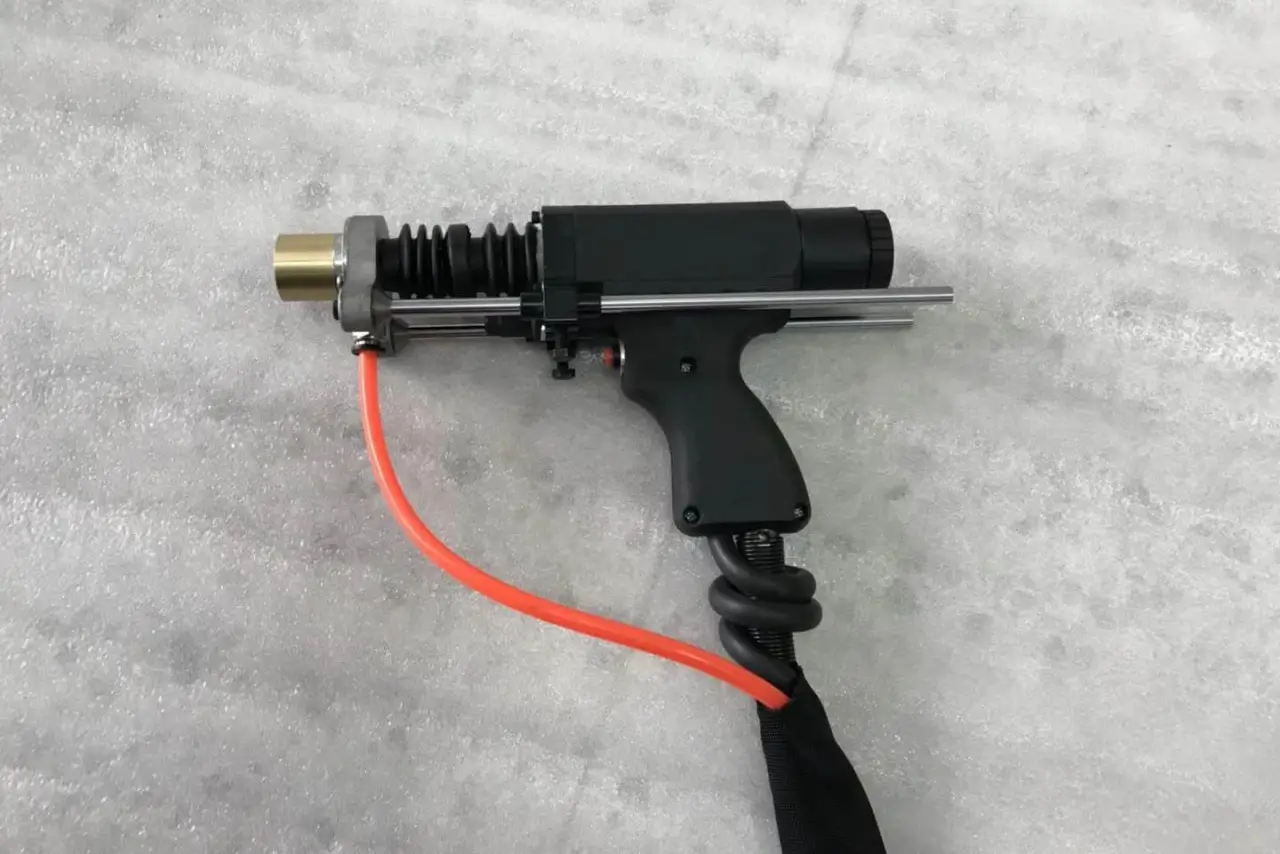
Fit the correct chuck, seat the stud securely, and adjust the gun according to its operating manual. Choose compatible stud welding chucks and accessories for your fastener and gun model. Check that the stud can complete its specified movement without catching or tilting.
How do you check chuck fit and gun movement?
Check the fit before the settings: a loose chuck or binding mechanism can spoil repeatability even when your controller displays the expected value. Isolate the equipment before making adjustments.
- Seat the stud as specified and check that the chuck grips without damaging its threads.
- Set protrusion, support-foot position, and spring pressure using the gun manual.
- On drawn arc guns, check lift and plunge travel using the manufacturer’s prescribed test method.
- Keep support feet stable and the stud perpendicular to its local welding surface.
Recheck the setup after changing stud size, chuck, or ferrule holder. CD and drawn arc guns use different operating sequences, so follow the instructions for your actual gun.
How Do You Choose Settings and Validate a Trial Weld?
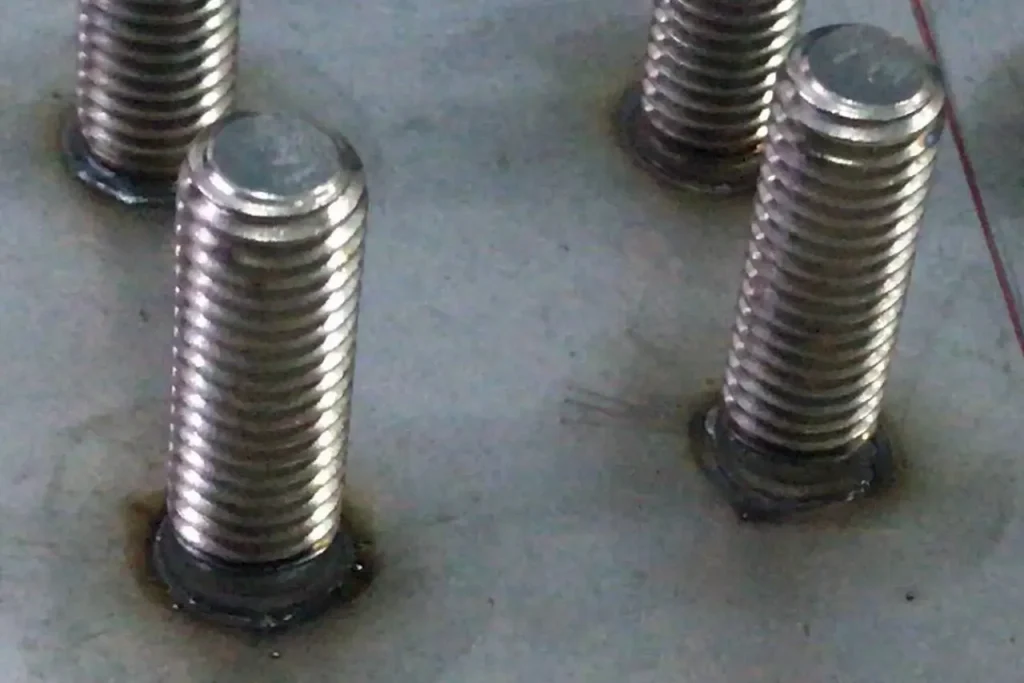
Use your equipment manufacturer’s starting settings, then verify them on a representative test coupon. Use the same stud, material grade, thickness, preparation, support, and cable arrangement planned for production. A voltage copied from another CD welder may produce different energy because capacitor capacity and system design differ.
What should your trial coupon prove?
Before you commit a panel: check both the joint and the reverse surface. A stud that stays upright hasn’t yet demonstrated the required strength or appearance.
- For CD, validate the prescribed energy and gun settings for your stud-and-sheet combination.
- For drawn arc, verify current, welding time, lift, and plunge under the applicable procedure.
- Perform the specified mechanical tests using defined acceptance criteria.
- Change one controlled variable at a time and retest after each adjustment.
Record the machine model, stud specification, preparation method, accepted settings, and test results. Keep that record available at the workstation so an operator can reproduce the accepted setup.
How to Install Weld Studs Using Capacitor Discharge (CD) Welding
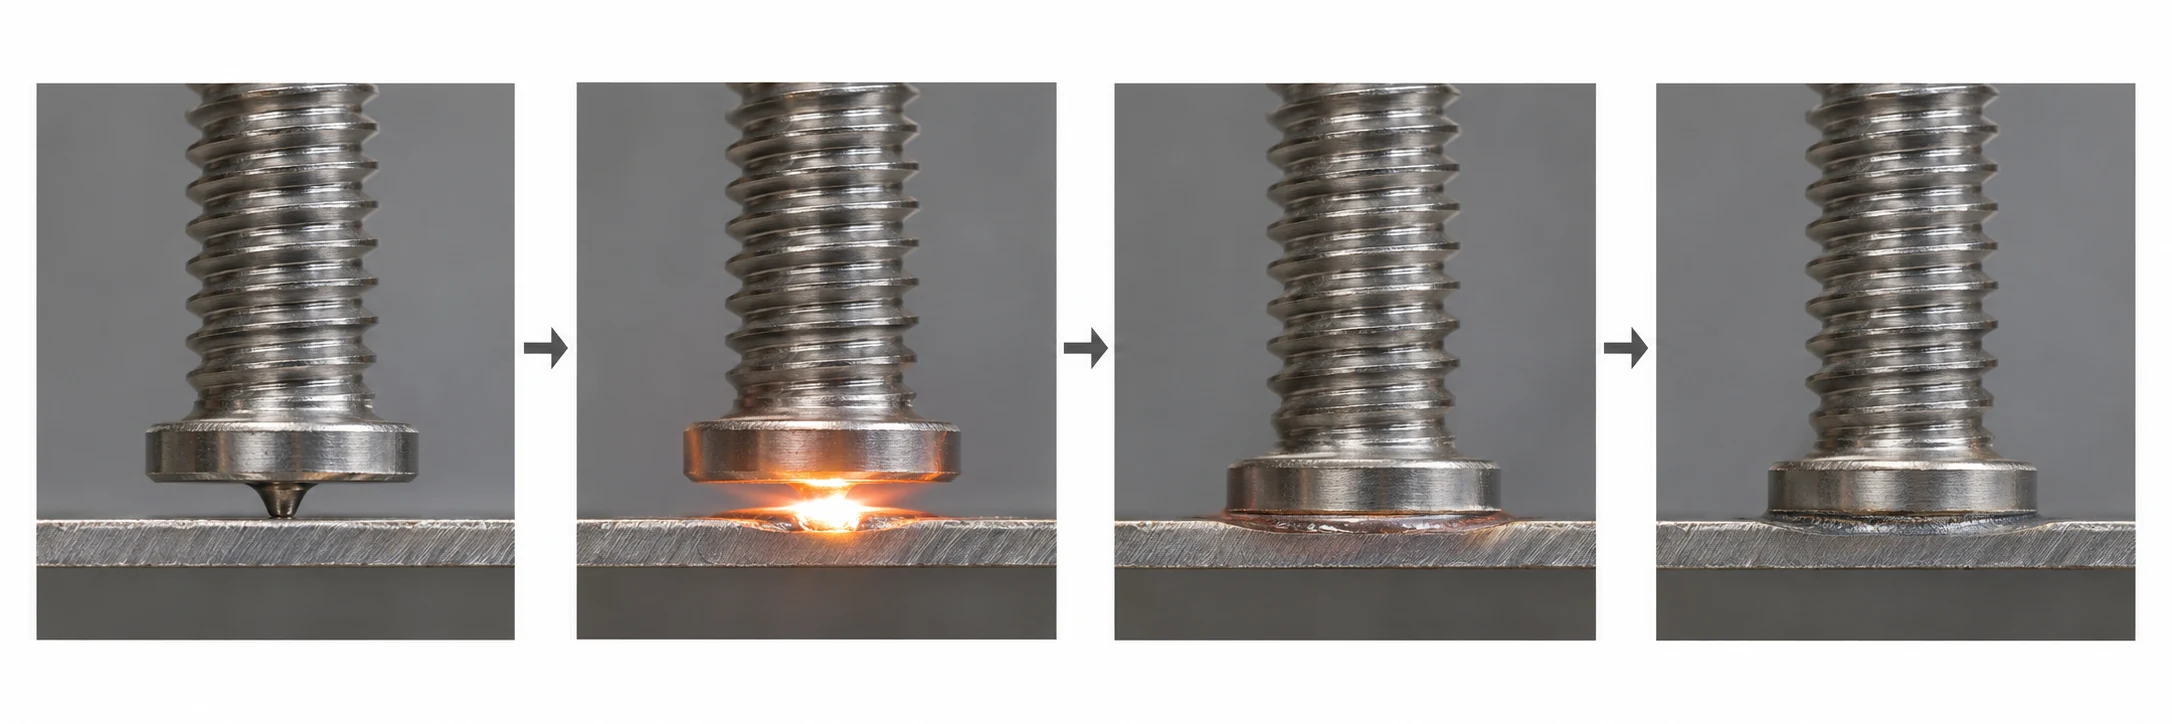
Prepare and validate the CD setup, seat the gun squarely, trigger the weld, then inspect the installed stud. The following sequence describes contact-mode CD welding with ignition-tip studs. Use compatible CD stud welding machines and follow the gun manual if your equipment uses lift-gap operation.
How do you prepare and validate the CD setup?
Work through the setup in order: make your trial coupon representative of the finished part, including its support and reverse-side finish requirements.
- Select the stud. Confirm its diameter, length, material, welding base, and ignition-tip design against the equipment specification.
- Prepare the sheet. Clean the weld and return-clamp contact areas, support the panel, and secure the return connection.
- Load and adjust the gun. With the equipment isolated as prescribed, fit the chuck, seat the stud, and set protrusion, support feet, and spring pressure.
- Set and test the output. Apply the manufacturer’s starting settings, make trial welds, and verify joint performance and backside appearance before production.
How do you weld, release, and inspect each stud?
At the gun: keep the support feet seated and maintain the specified contact pressure. The discharge initiates an arc at the ignition tip, then the gun’s spring drives the stud into the molten interface.
- Position and weld. Align the stud with your location mark or fixture, hold the gun perpendicular, and trigger once without shifting it.
- Release and check. Wait for cycle completion, withdraw along the stud axis, and allow the controller to regain its ready state before continuing.
- Check position, alignment, threads, and the sheet’s reverse face against the job requirements.
- Stop if a stud shifts or separates during inspection; correct and revalidate the setup before restarting.
How to Install Weld Studs Using Drawn Arc Welding
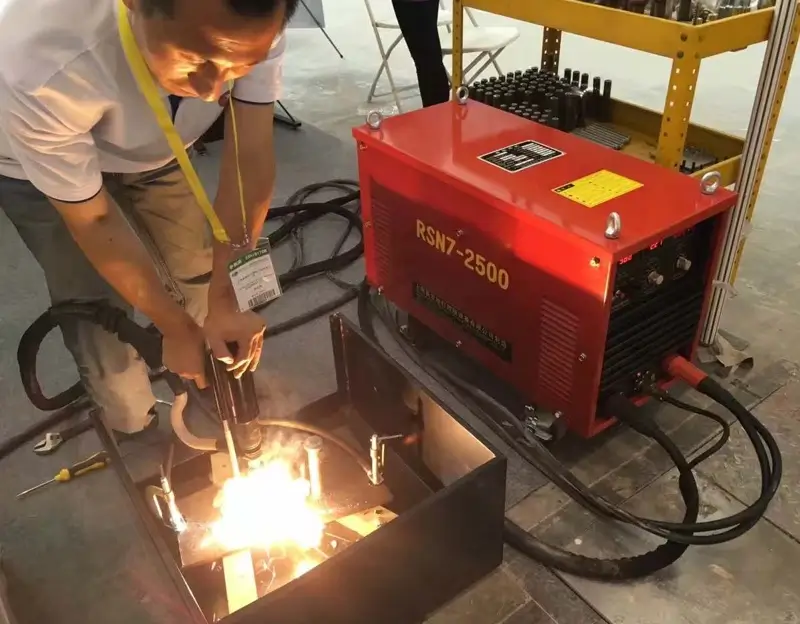
Set the gun’s lift and plunge, fit the stud and ferrule, complete a validated welding cycle, then remove the ferrule and inspect the joint. These steps describe conventional ferrule-shielded drawn arc stud welding on bare steel. Gas-shielded, through-deck, and other applications need their own approved setup and procedure.
How do you fit the stud and ceramic ferrule?
Check the fit before positioning: the stud must move freely through the ferrule and holder. A misaligned or damaged ferrule can interfere with plunge and weld-collar formation.
- Prepare the equipment and plate. Confirm compatible stud and base-metal grades, clean the contact areas, and position the return connections as specified.
- Load the gun. Isolate the equipment as required, seat the stud in its chuck, and fit a dry, correctly matched ceramic ferrule in the holder.
- Set and validate the cycle. Adjust protrusion, lift, plunge, current, and time according to the gun manual and welding procedure, then pass the required trial tests.
What happens after you trigger the gun?
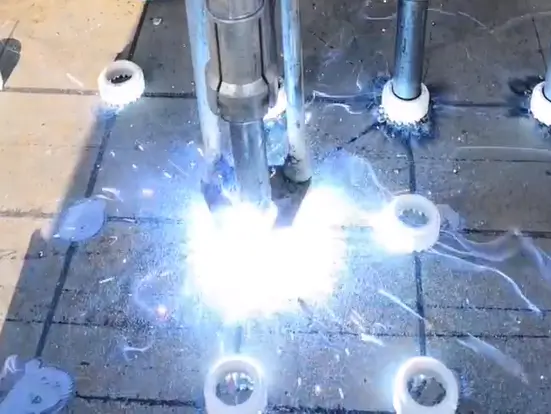
The gun lifts the stud to establish the arc, maintains the specified welding interval, and plunges the stud into the molten pool. Let the gun control this movement: hold the assembly steady rather than trying to push the stud down manually.
- Position and trigger. Seat the ferrule flat against the plate, keep the stud perpendicular, and start the cycle.
- Hold and withdraw. Maintain position through the specified completion period, then release the gun as its manual directs without disturbing the joint.
- Remove the ferrule and inspect. Once safe to handle as prescribed, break away the ceramic using suitable tools and eye protection, then examine the exposed weld collar.
- Discard used ferrules; fit a new suitable ferrule for the next weld.
- Apply the inspection and testing requirements for your project before accepting the connection.
How Do You Check Whether a Weld Stud Is Secure?
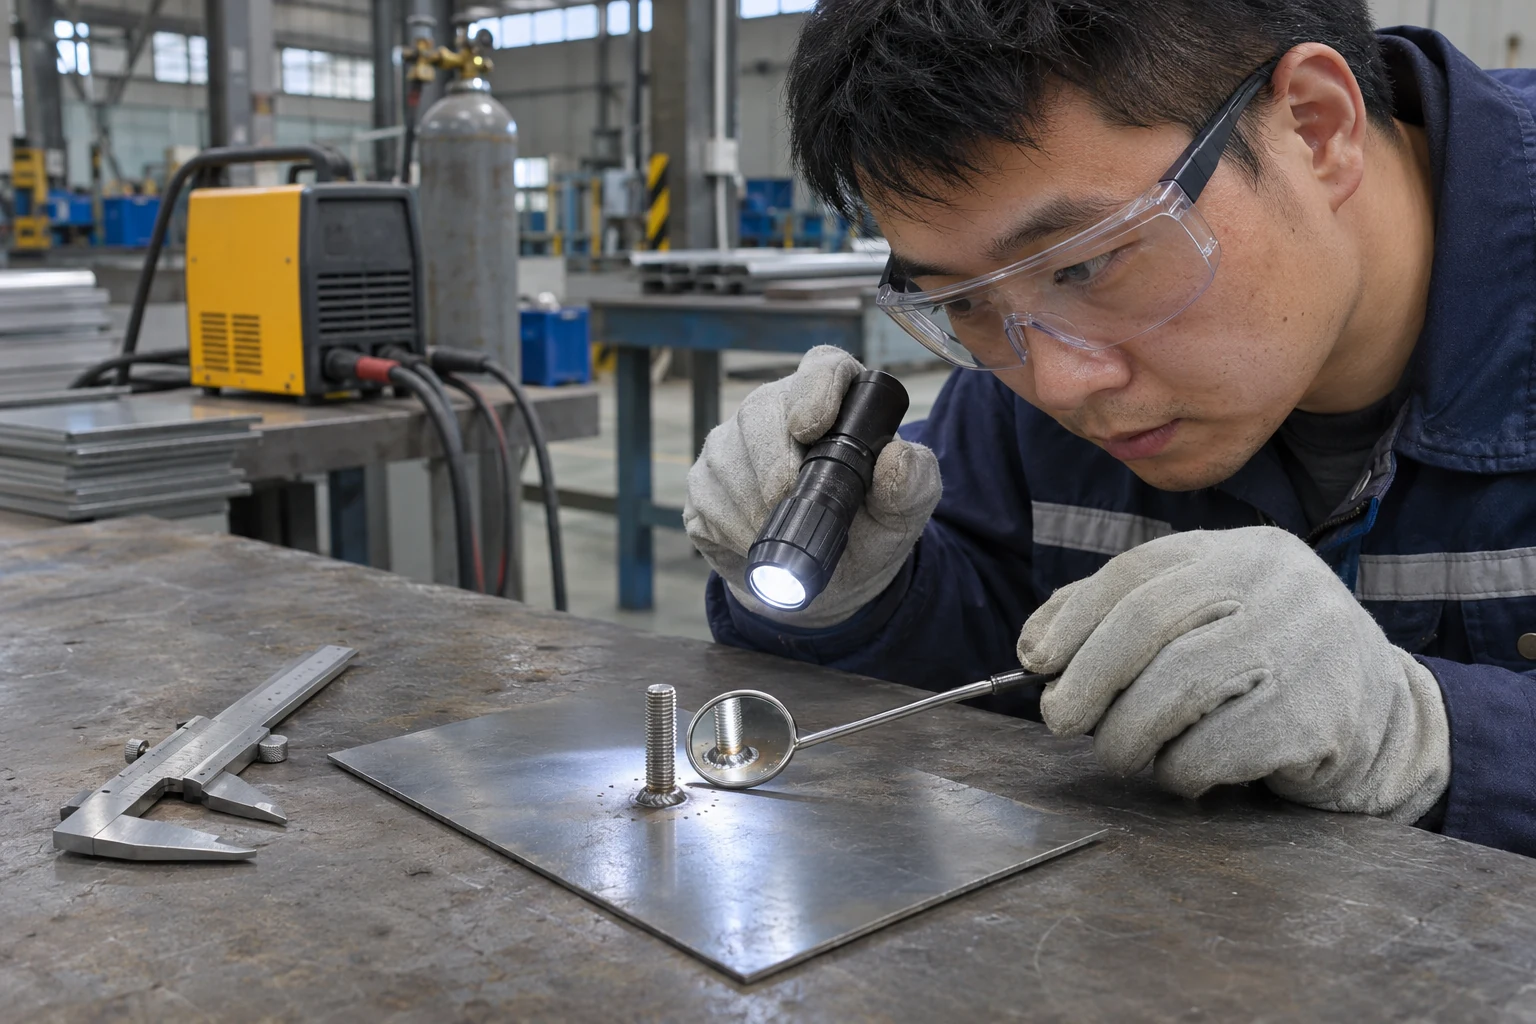
Combine visual examination with the mechanical testing required by your application and inspection plan. Appearance alone cannot establish joint strength. Use defined stud welding quality inspection criteria, including the drawing’s location, alignment, and dimensional requirements.
Which checks belong in your inspection plan?
Look beyond the visible joint: confirm the stud’s position, finished length, threads, and reverse-side condition. Use the specified bend, torque, tensile, or other test where your procedure calls for it.
- Record the test method, sample identification, results, and acceptance limits.
- Keep destructive test specimens separate from accepted production components.
- Revalidate the setup at the intervals and changes specified in your quality plan.
| Check | What you assess |
|---|---|
| Position and dimensions | Location, alignment, finished length, and usable thread |
| CD weld base | Gaps, cracks, irregular attachment, and required backside finish |
| Drawn arc weld collar | Collar continuity, visible defects, and procedure-specific geometry |
| Specified mechanical test | Performance against the applicable acceptance criterion |
Use each check for the evidence it provides. Key Takeaway: Release parts against documented acceptance requirements rather than a quick hand pull.
For structural steel applications, follow the applicable project specifications and welding requirements, such as AWS D1.1 where specified. Stud and ceramic ferrule specifications may reference ISO 13918, while inspection and acceptance criteria should follow the approved welding procedure and project requirements.
How Do You Fix Weak Welds and Backside Marks?
Check cleanliness, sheet support, return contact, chuck condition, gun movement, and settings before adjusting energy. When a weld fails inspection, isolate one cause at a time. Our guide to common stud welding problems provides further checks for reviewing failed trials.
What should you change when a trial weld fails?
Work through the setup: interrupted current, poor movement, or unsuitable settings can leave a weak joint. Backside marking may require changes to support, process choice, or the stud-and-sheet combination.
- Compare the failed sample with an accepted sample from the same material and setup.
- Verify the gun and connections before changing controller settings.
- Retest a controlled change on representative material before restarting production.
| Symptom | Checks before correction |
|---|---|
| Weak or incomplete attachment | Surface condition, return contact, chuck fit, and gun travel |
| Excessive CD spatter | Welding energy, spring pressure, stud plunge speed, and surface condition |
| CD backside marking or distortion | Support, energy, sheet thickness, and process suitability |
| Uneven drawn arc collar | Gun alignment, ferrule seating, return arrangement, and prescribed settings |
Record the change and its test result so the next operator can reproduce it. Key Takeaway: Correct the identified cause and revalidate the setup before releasing more parts.
Need Help Selecting Weld Studs and Welding Equipment?
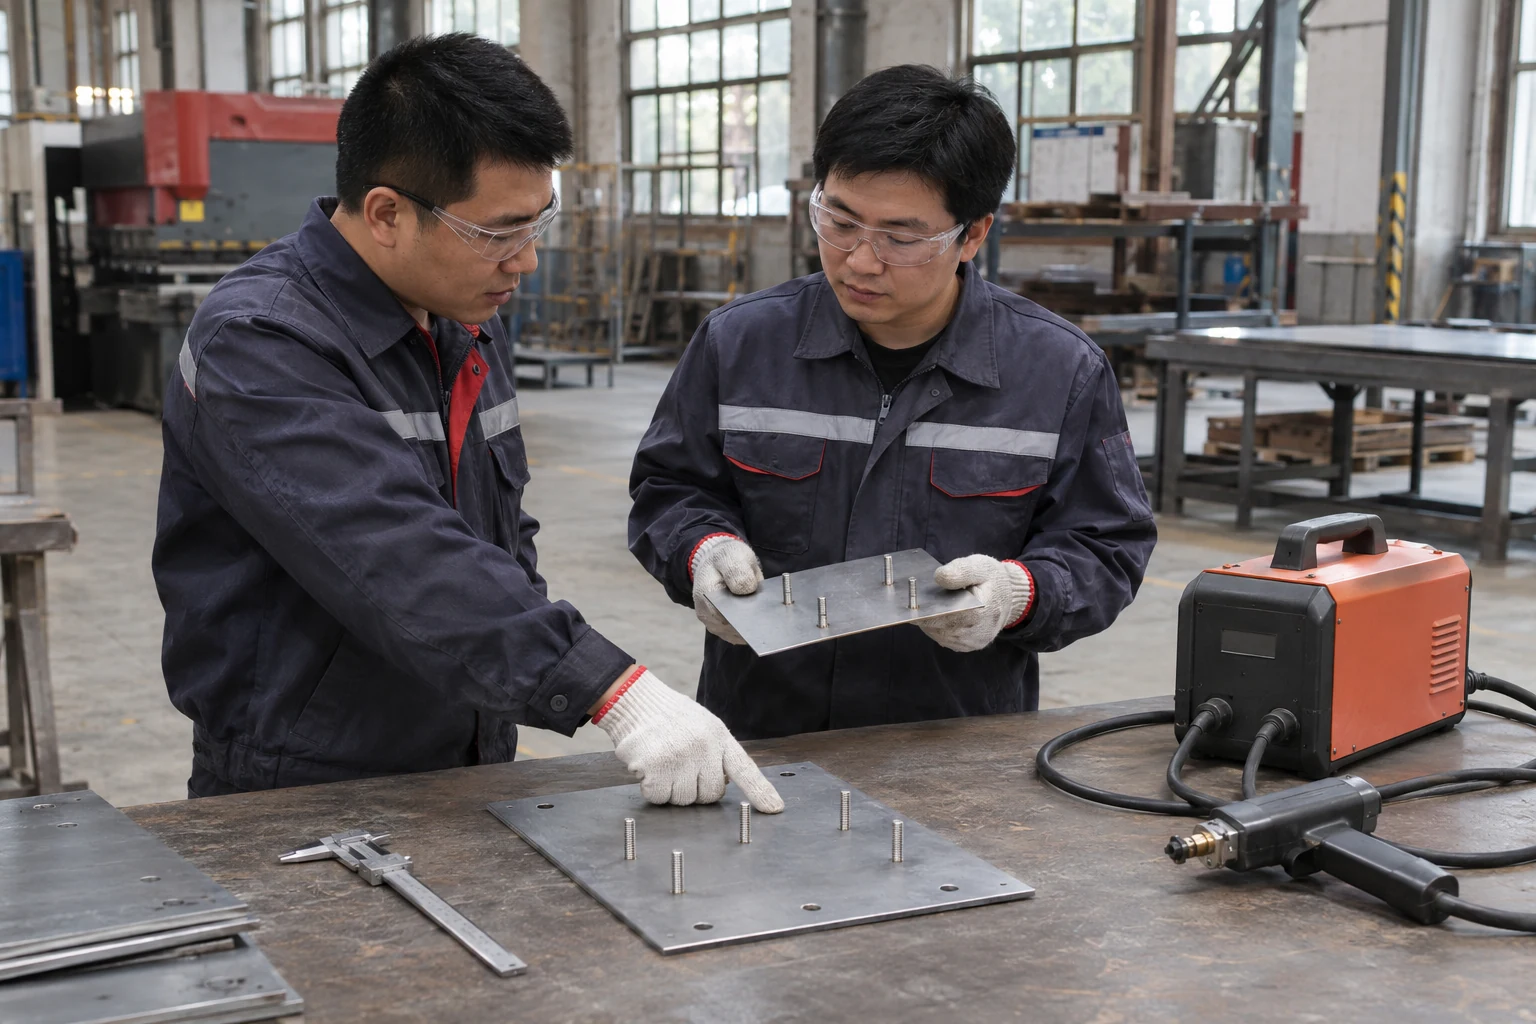
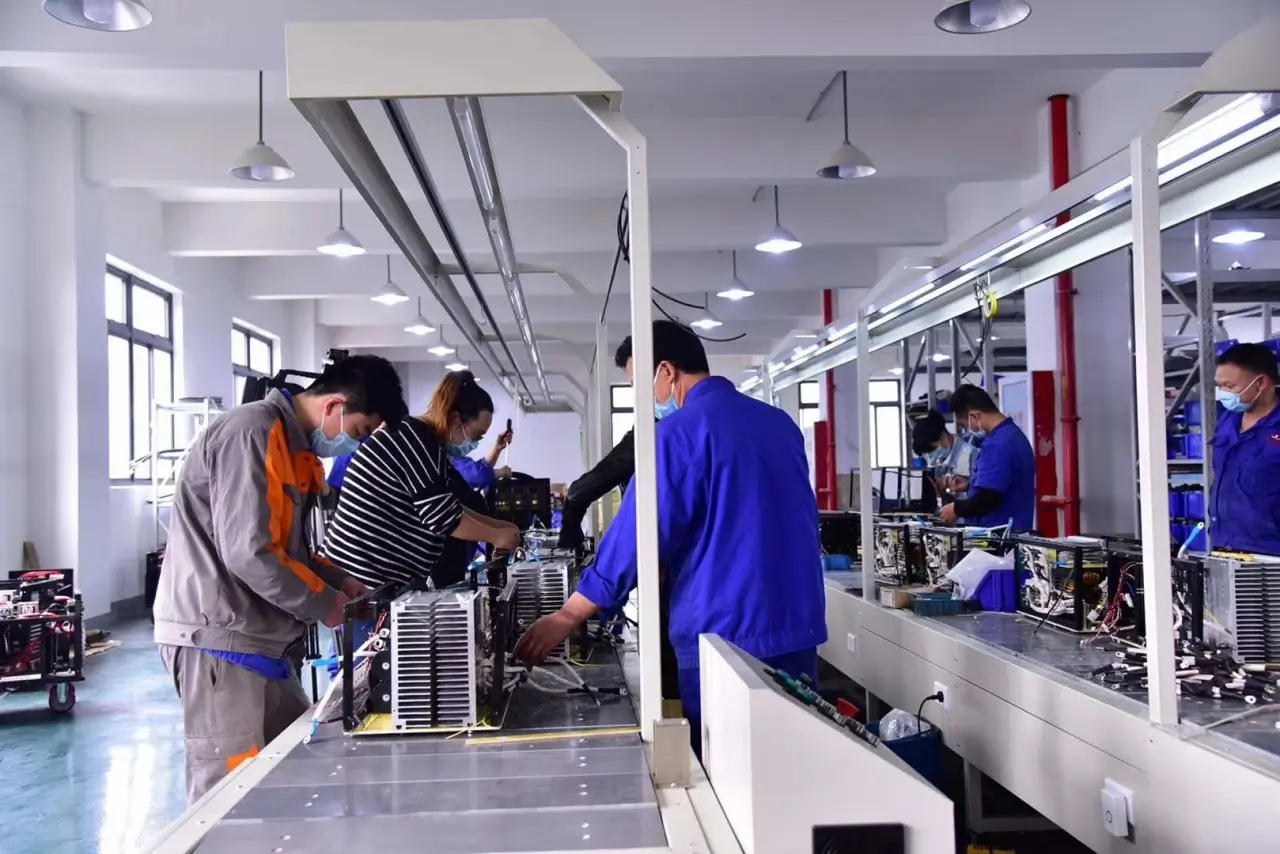
ZOC Machinery supplies stud welding machines, welding guns, weld studs, and compatible accessories for industrial applications. We can help you compare equipment and consumables for a new production line or review the configuration of an existing setup. A useful recommendation starts with your actual fastening requirements.
Which details should you send with your inquiry?
Put your sample to work: share a drawing, material specification, or clear photographs alongside the job details below.
- Stud diameter, length, material, and required finished position.
- Base-metal grade, thickness, coating, and reverse-side finish requirements.
- Available input power, production volume, and current machine model, if applicable.
- Required inspection documents and any project-specific acceptance requirements.
These steps address process selection, gun setup, trial welding, and joint inspection. Our approach is to match the complete fastening setup to the application so you can check compatibility before ordering. Request Technical Support & Quotation with your specifications and discuss a matching equipment configuration.
Frequently Asked Questions About Weld Stud Installation
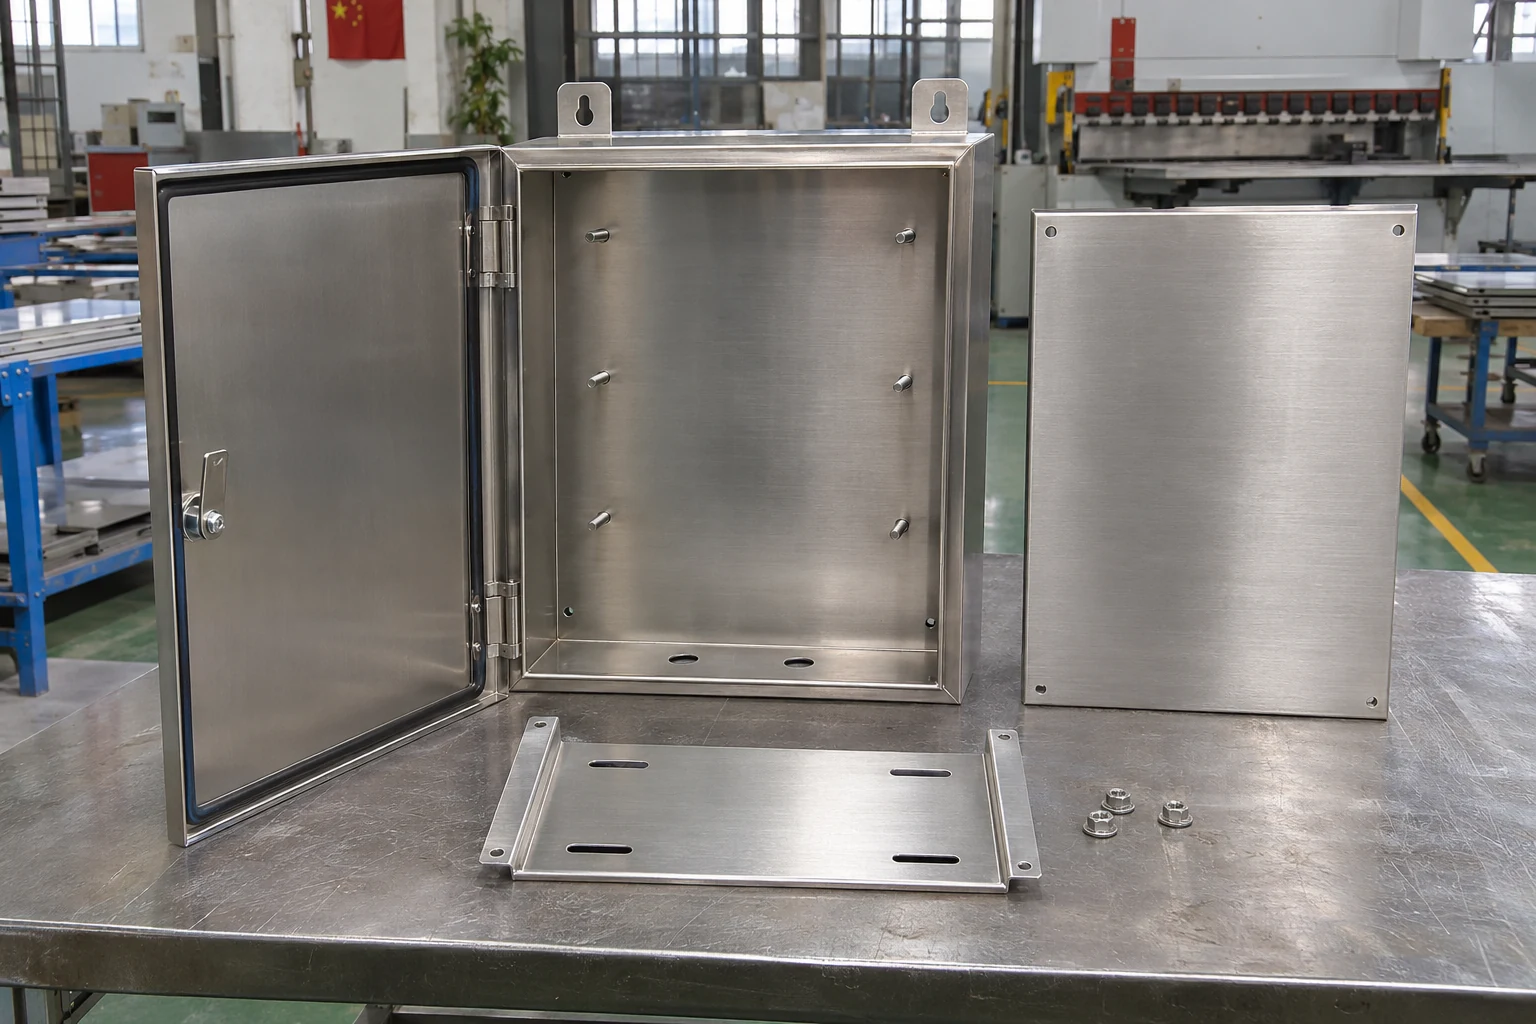
Confirm coating compatibility, process suitability, and required testing before approving an unfamiliar application. These decisions depend on the actual material and joint requirements. The following questions address choices you may face before ordering equipment or releasing a batch.
Can I install weld studs through paint or galvanizing?
Usually not. Remove paint from weld and return contact areas; welding through a metallic coating needs a specifically validated procedure. Coatings can obstruct current, contaminate fusion, and create hazardous fumes. Before trying it: identify the coating and check your equipment guidance and workplace controls.
- Verify coating type and thickness on a representative sample.
- Confirm preparation, ventilation, and testing requirements before production.
What’s the best process for thin stainless steel panels?
CD is often a suitable starting choice for small studs on thin stainless steel, subject to testing. Its short welding cycle can limit heat input, but the actual stud-and-panel combination still needs validation. Specify the panel alloy, thickness, stud size, and required reverse-side finish when reviewing a setup.
How do I know if a welded stud can carry my required load?
You need an approved joint design and test evidence for your application. Stud diameter or a tidy appearance doesn’t establish service capacity. Review load direction, base-metal behavior, and acceptance tests with the responsible engineer, then keep the acceptance records with the relevant production batch.