The main benefits of stud welding are one-sided access and a welded fastener without a drilled through-hole. On repeated parts, the process can also remove handling steps. Those advantages are useful only when the stud, base metal and welding process suit the job. Stud welding still needs a qualified setup and an inspection plan.
A fabricator attaching threaded studs inside an enclosure faces a different problem from a contractor welding headed shear studs to a beam. The first may need a clean reverse face; the second needs a specified structural connection. Compare the process against the part and the acceptance criteria before treating speed or strength as a guaranteed benefit.
Benefits of Stud Welding for Fabricators
A weld that can carry the specified load
The weld joins the stud end to the base metal over its weld area. When the stud material, joint geometry and procedure are correctly selected, the connection can carry demanding service loads. Its capacity is a design and test result, not an automatic claim that every stud weld is stronger than its parent metal. The stud welding quality guide explains why weld appearance and mechanical testing answer different questions.
A short cycle on repeat work
The arc or discharge itself is brief. That helps on repeated layouts, especially when feeding and positioning are organized. The actual rate also includes surface preparation, loading, moving the gun, cooling and inspection. For a realistic quote, time a batch of accepted welds on the production part. Our stud welding process and parameter guide covers the setup behind the trigger time.
Access from one side
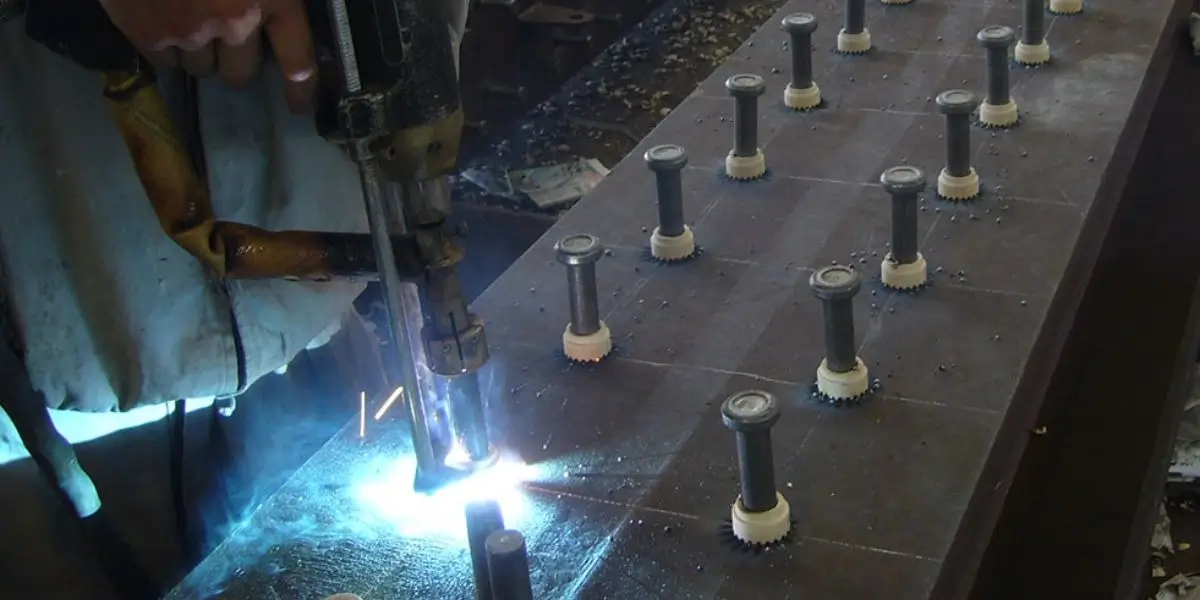
The operator can place a stud on the accessible face without reaching behind the workpiece to fit a nut. This is useful inside closed sections, tanks and assembled panels. In composite construction, headed shear studs are welded to steel beams to connect them to the concrete slab; the structural drawing still controls size and position.

No drilled through-hole
A welded stud can avoid drilling, deburring, tapping and adding a separate nut when the design permits it. Keeping the panel intact may simplify sealing and reduce a potential leak path. It does not make the finished assembly automatically leak-proof: the surrounding joints, coating and weld quality still need to meet the application requirements.
A cleaner reverse face on suitable sheet
A carefully selected process can leave the back of a sheet free of a visible bolt head or drilled hole. CD welding is often considered where reverse-side appearance matters. Thin stock, coatings and finishes can still show heat effects or marks, so qualify the exact material and inspect both faces of trial pieces.
How the methods compare
The value of stud welding depends on the alternative. A removable bolt may be better for service access; a welded stud may simplify an assembly that would otherwise need a hole and hardware. Compare total steps and acceptance requirements, not only the seconds in the weld cycle.
| Consideration | Stud welding | Drilled or mechanical fastening |
|---|---|---|
| Access | Usually from the weld side | May need reverse-side access, depending on design |
| Preparation | Weld-area preparation and setup | Hole making, deburring and assembly |
| Reverse face | No through-hole; heat effects depend on the job | Hole or visible hardware may be present |
| Inspection | Weld checks under the applicable procedure | Fit, torque or other joint checks |
| Service | Permanent welded attachment | Some designs can be disassembled |
A process choice for different parts
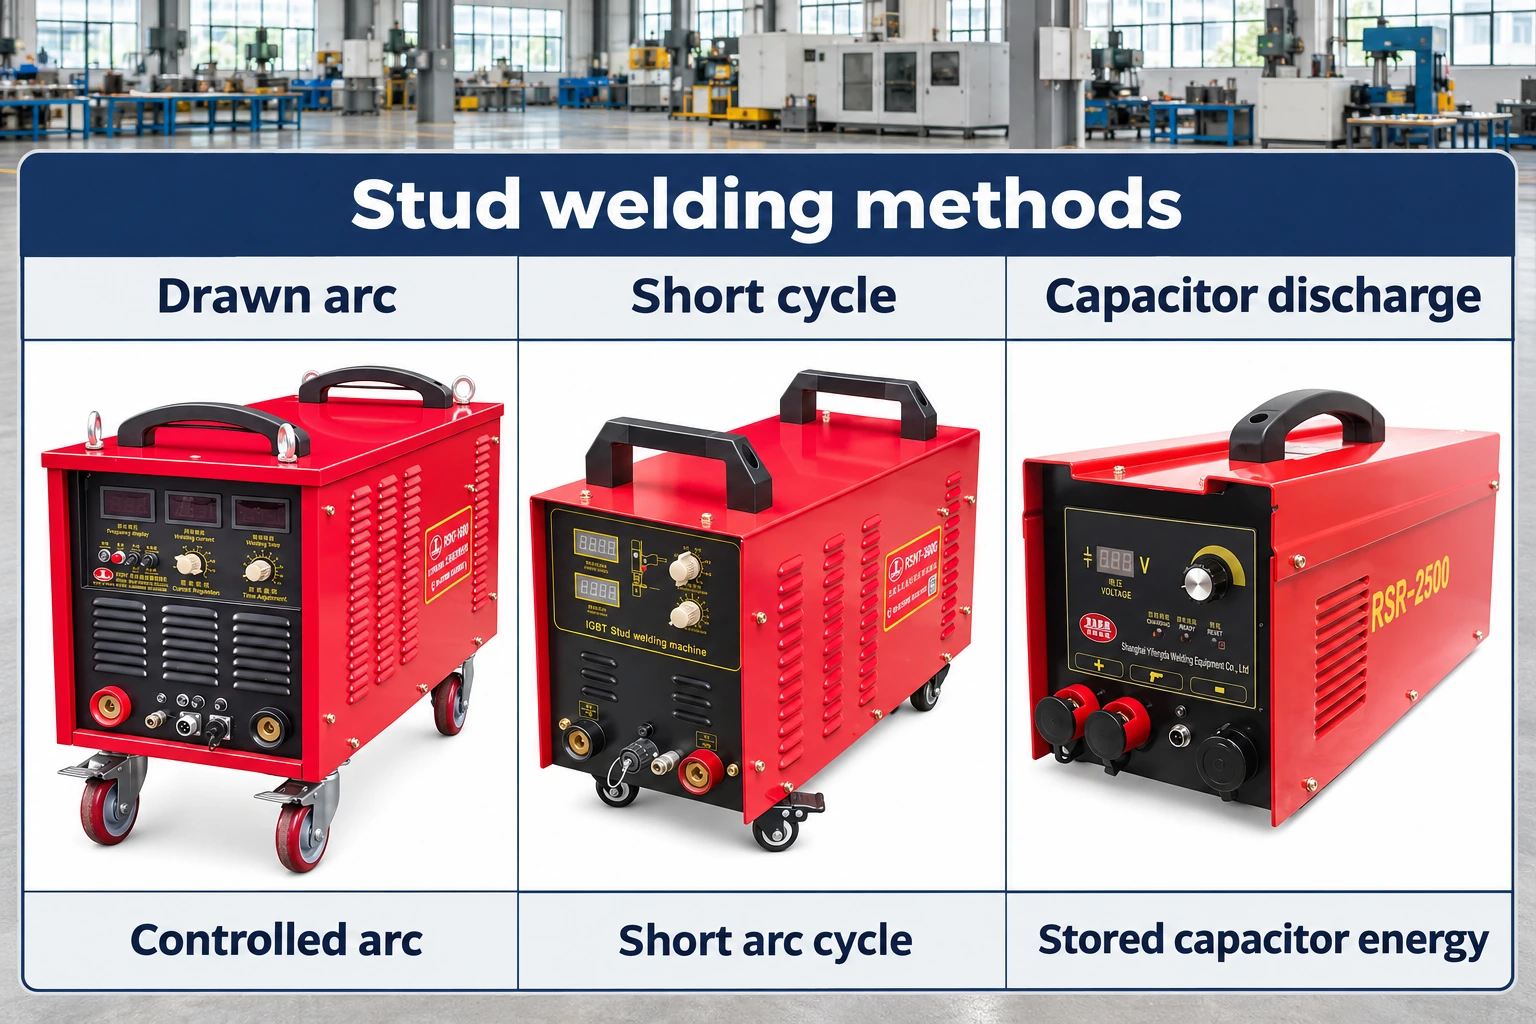
Drawn Arc Stud Welding: is commonly used for larger structural studs and other heavy-section work. Capacitor Discharge (CD) Stud Welding: is used for many small studs on sheet metal. Short Cycle Stud Welding: sits between those applications for certain stud and sheet combinations. The labels do not set universal thickness or diameter limits; check the specific equipment, stud and procedure.
Less repeated handling when the setup fits
Avoiding holes and separate hardware can reduce operations and work-in-process on a repeat part. Labor savings depend on loading time, fixture design, rework, inspection and training. Set the machine from a qualified procedure and train operators to recognize an unacceptable weld. Routine checks of chucks, cables and clamps matter too; see the stud welding machine maintenance guide.
Localized heat, with safety controls still required
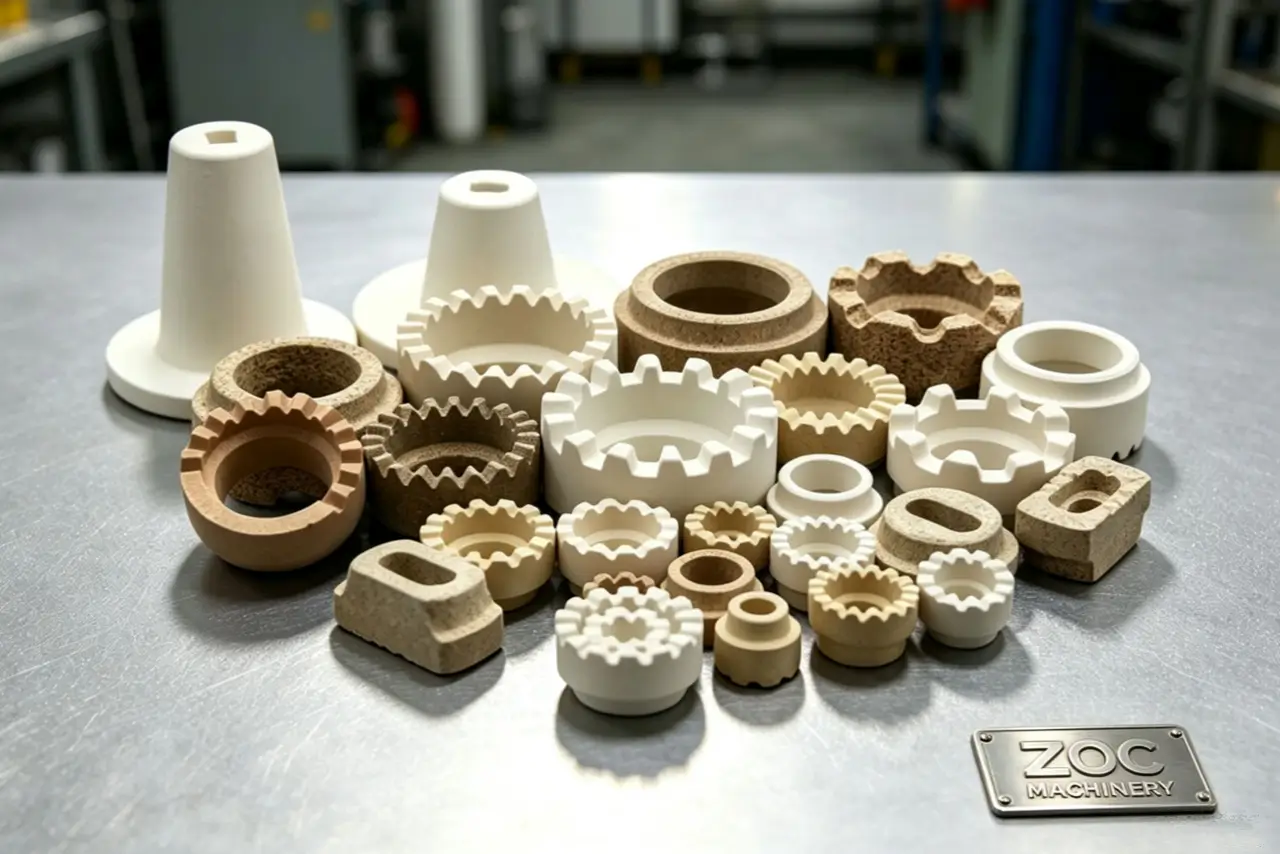
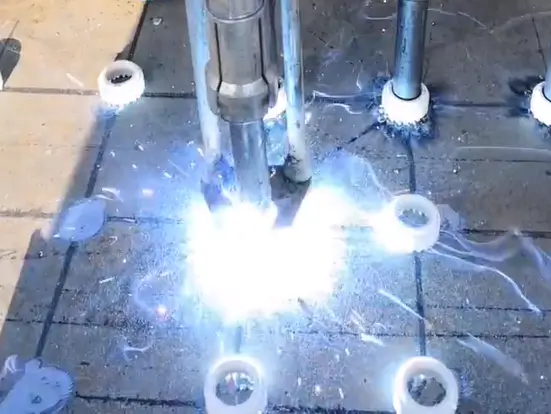
A short weld cycle can limit heat spread compared with a longer manual weld, especially in suitable CD applications. It cannot promise zero distortion or a mark-free finish. Drawn arc work may use a matching ceramic ferrule to contain molten metal, but operators still need protection from arc radiation, hot metal, electrical hazards and fumes.
A repeatable step for automation
Stud feeding, positioning and the programmed weld cycle can be integrated into a fixture or automated line. The benefit is repeatable placement and less manual handling when the part is consistent. Verify feed reliability, changeover time and the number of accepted joints on your own component; automation does not remove the need for weld checks.
Requirements that can be written into a job
For structural work, the drawings and applicable welding standard can define the stud, procedure, operator qualification and production testing. ISO 14555 covers arc stud welding requirements; the project may also specify other codes. Refer to the actual contract and code edition before claiming that a product or weld is “code compliant.”
Choosing a Stud Welding Setup
Start with the base-metal grade and thickness, stud drawing, coating, weld position and required load. Then compare stud welding machines, stud welding guns, cables, chucks and consumables as one system. Ask for trial welds on representative material, including a reverse-face check if appearance matters.
For a production estimate, record setup time, accepted welds per hour, consumable use and test results. Rework can erase a speed gain. If defects appear, the cause may be the surface, ferrule, return path or gun movement as well as current and time; the stud welding troubleshooting guide helps structure that check.
Send the drawing before asking for a quote
Provide the stud size and material, base metal, expected volume, site power, access limits and acceptance criteria. We can then match the equipment and consumables to the job. Contact ZOC Machinery Today for Technical Support & A Free Quote!
FAQs About Stud Welding
What is stud welding used for?
It attaches studs, pins and other weldable fasteners to a metal workpiece. Common examples include headed connectors on steel beams and small studs inside electrical enclosures. The stud and process differ between these jobs.
Which materials can be stud welded?
Carbon steel, stainless steel and some aluminum alloys are common, but the exact pairing, coating and thickness determine the procedure. Test mixed-metal or coated combinations before approving production.
Why can it be faster than drilling and bolting?
It can remove drilling, deburring and separate hardware assembly. The saving varies with part geometry, handling, fixture design and inspection; measure the complete accepted-joint cycle on your line.
Can it be used on thin sheet?
CD welding is often selected for small studs on thin sheet. The minimum suitable thickness and reverse-face appearance depend on the stud, material and equipment. Qualify the actual sheet and finish with test welds.
What equipment is needed?
A compatible power source, gun, cables and work clamps, plus the specified studs. Drawn arc jobs often need matching ferrules; automation may add feeders and fixtures. Buy the system against the procedure and the production part.